To can cabbage, first sterilize jars and pack them with shredded, blanched cabbage, adding canning salt and hot water. Next, seal and process the jars in a boiling water bath for preservation.
Preserving cabbage through canning is a timeless method of storing the vegetable for future use. This not only extends the shelf life of the cabbage but also allows you to enjoy homemade sauerkraut or other cabbage-related dishes throughout the year.
The boiling water bath technique ensures the destruction of any bacteria, which can spoil the cabbage, making it a safe choice for long-term storage. This process is straightforward, requires minimal equipment, and can be done in the comfort of your kitchen. By following precise canning practices, you maintain the cabbage’s nutrients and taste. Whether you’re a seasoned home canner or a curious beginner, canning cabbage can be a rewarding addition to your food preservation skills.
About Canning Cabbage
The art of canning has been a trusted method to preserve food across generations. Preserving cabbage through canning not only extends its shelf life but also ensures that you can enjoy this nutritious vegetable all year round. Engage in this age-old tradition and unlock the flavors of cabbage with every jar you seal.
Understanding the Benefits of Canning Vegetables
- Extended Shelf Life: Canning increases the lifespan of vegetables, allowing you to store them for months or even years.
- Nutrient Retention: The canning process helps to preserve vitamins and minerals in vegetables.
- Eco-Friendly Storage: Reduce waste by canning surplus vegetables, minimizing spoilage and dependency on refrigeration.
- Convenience: Enjoy the comfort of having home-canned vegetables like cabbage readily available for a variety of dishes.
Why Cabbage is a Great Choice for Canning
Cabbage is particularly well-suited for canning due to its firm texture and natural preservability. Rich in vitamins C and K, this leafy green can maintain its nutritional value and flavor after canning. Cabbage is versatile in recipes and has a high yield per plant, which makes it an economical option for home canning.
Overview of the Canning Process
The canning process involves preparing, processing, and sealing the cabbage in airtight containers. Here’s a quick overview:
- Select fresh, high-quality cabbage.
- Clean and prepare it according to your chosen recipe.
- Fill canning jars with prepared cabbage, leaving appropriate headspace.
- Apply the lids and rings to the jars, ensuring a snug fit without overtightening.
- Process the jars in a canner according to the correct time and pressure for cabbage.
- Once done, remove the jars carefully and allow them to cool undisturbed.
- Check seals, label jars, and store them in a cool, dark place.
Preparation for Canning Cabbage
Canning cabbage is a fantastic way to preserve its crisp texture and nutritional value for year-round enjoyment. Whether you’re a seasoned canner or trying your hand at it for the first time, preparation is key. This guide will walk you through selecting premium cabbage, prepping it for canning, and gathering your canning essentials. Follow these steps for a rewarding canning experience and delicious results.
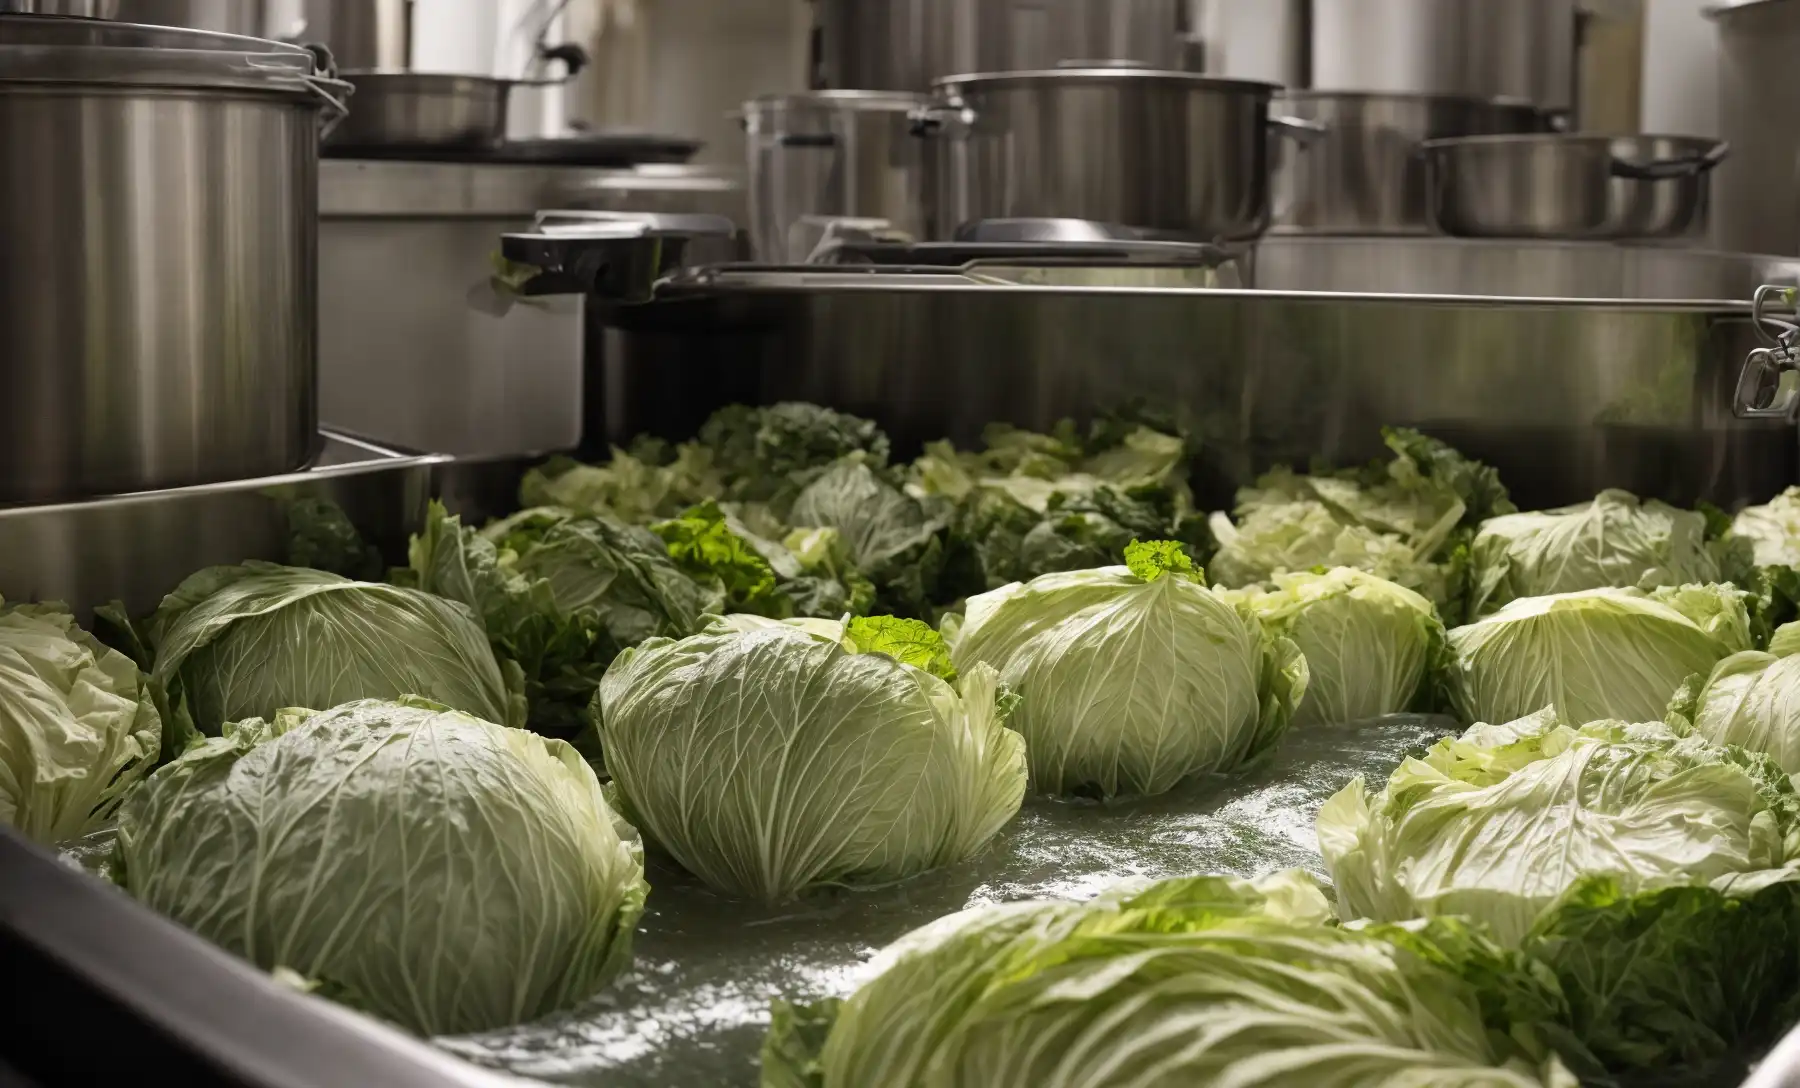
Selecting the Right Cabbage
The success of canning cabbage starts with choosing the right variety. Look for fresh, dense, and firm heads with vibrant leaves, free from bruises and blemishes. The best cabbage for canning are those that are in-season, ensuring optimal flavor and texture. Green and red cabbages are most commonly used, but don’t hesitate to experiment with different types to find your favorite.
Cleaning and Cutting Your Cabbage
Proper cleaning and cutting are vital for ensuring the safety and quality of your canned cabbage. Begin by removing the outer leaves and rinse the head under cool running water. Using a sharp knife, quarter the cabbage and remove the core. Then, chop or shred the quarters to your preferred size. Remember, consistent sizes lead to a uniform canning process and make your end product not only tastier but also more aesthetically pleasing.
Assembling Canning Equipment and Ingredients
With your cabbage prepped, it’s time to assemble your canning equipment and ingredients. You will need:
- A large canning pot with a rack
- Enough jars, lids, and bands for your batch
- Jar lifter and canning funnel
- Vinegar or pickling brine, if you’re making sauerkraut or pickled cabbage
- Additional ingredients like salt, sugar, or spices, based on your recipe
Ensure all equipment is clean and sterilized before starting the canning process. Hot water canning is the preferred method for cabbage, so prepare your canner according to the manufacturer’s instructions and have it ready to go as you pack your jars.
The Canning Process
Packing the bold flavors of cabbage into jars isn’t just a means of preservation; it’s a testament to self-sufficiency and a nod to tradition. Canning allows you to enjoy your garden’s bounty all year round. Follow these steps carefully to ensure your canned cabbage is delicious and safe to consume.
Steps for Preparing the Cabbage for Canning
Begin with the freshest cabbage you can find—ideally harvested the same day. Wash the heads thoroughly to remove any dirt and lingering pests.
- Choose firm, crisp heads of cabbage without any signs of decay or wilting.
- Wash and drain the cabbage heads to ensure they’re free from contaminants.
- Remove the outer leaves and any discolored spots on the cabbage.
- Quarter the heads and remove the core.
- Next, shred or chop the cabbage to your desired size.
- Finally, blanch the cabbage in boiling water for two minutes to begin the preservation process.
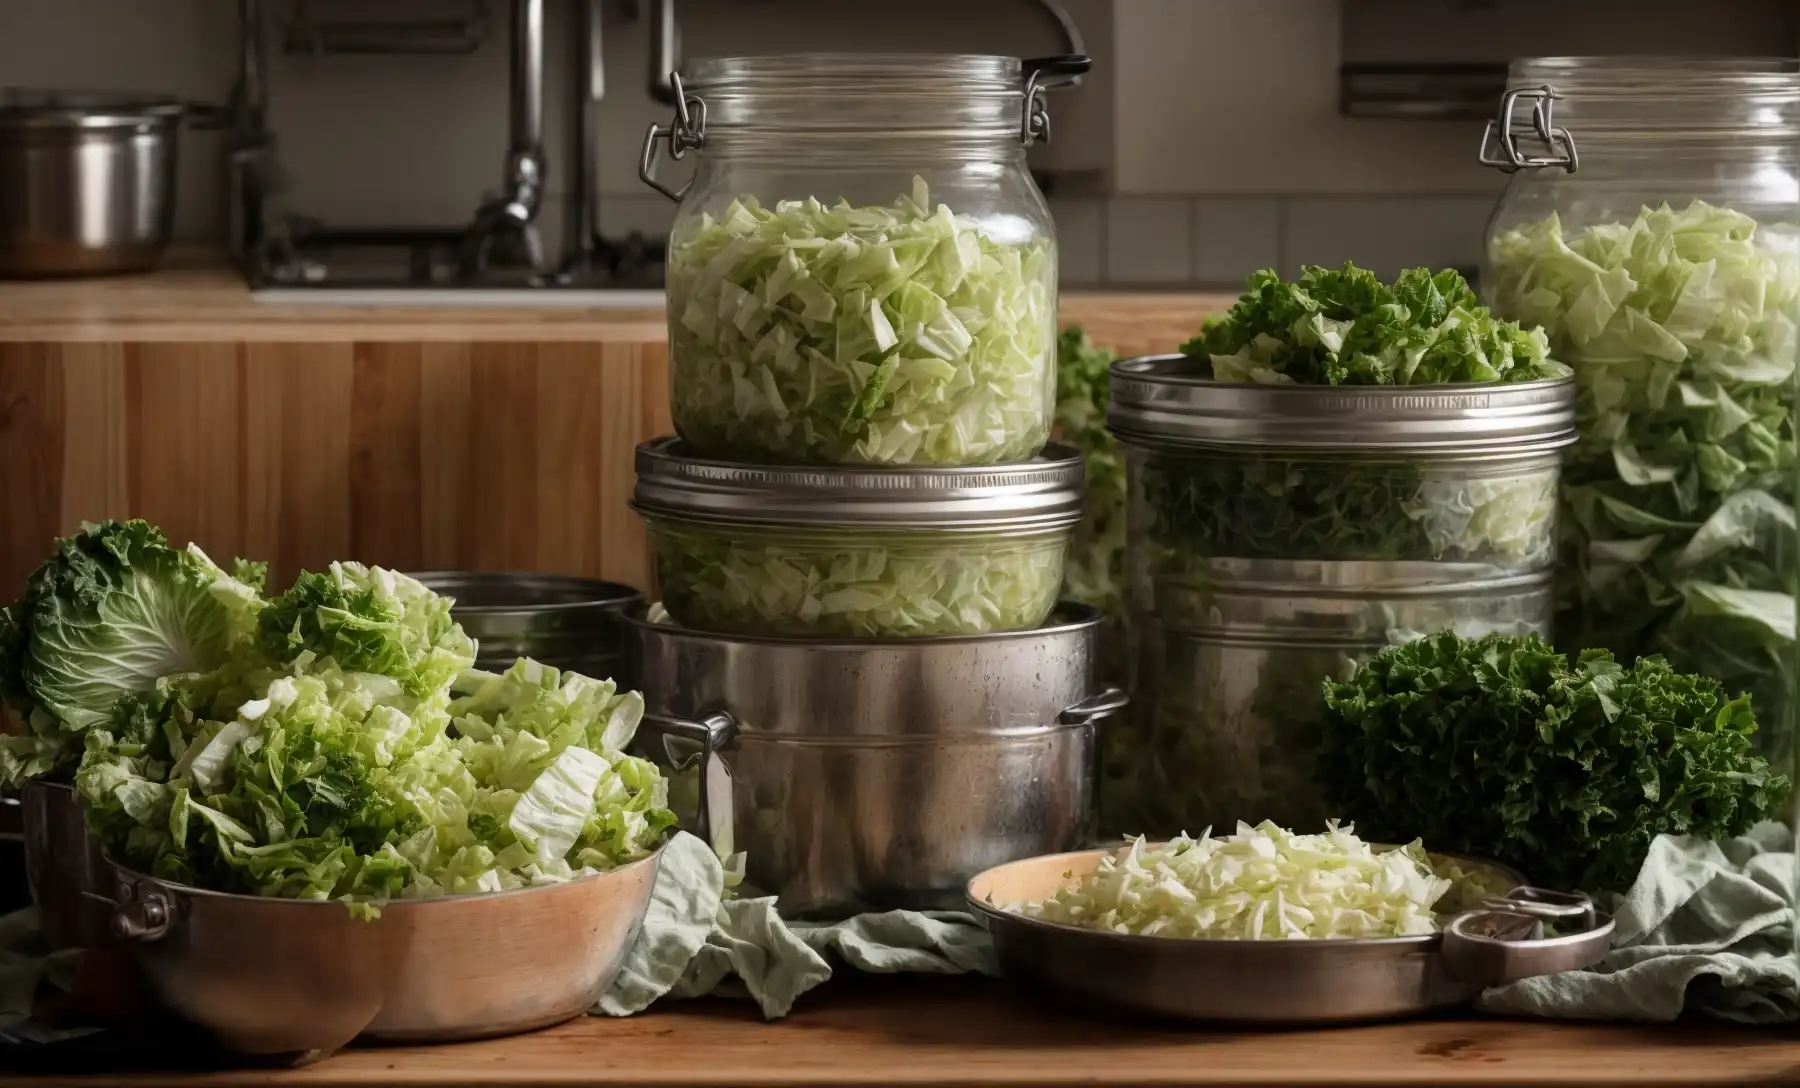
Filling Jars with Cabbage and Brine
Properly packing your jars ensures the cabbage retains its texture and flavor during storage.
- Prepare the brine by boiling water and canning salt in a ratio that complements the amount of cabbage you’re preserving.
- Fill sterilized jars loosely with cabbage, leaving about an inch of headspace from the rim.
- Pour the hot brine over the cabbage, maintaining the one-inch headspace.
- Remove air bubbles by gently shaking the jars or using a non-metallic spatula.
- Wipe the jar rims clean before securing the lids to ensure a tight seal.
Sealing and Processing the Jars
Sealing your jars is a critical step in the canning process to prevent spoilage and ensure food safety.
- Position the lids and screw bands on the jars to finger-tip tightness—this allows air to escape during the sealing process.
- Use a water bath canner or pressure canner to process the jars, depending on your recipe and altitude.
- Process the jars for the time specified in the recipe, adjusting for altitude when necessary.
Cooling and Storing Canned Cabbage
After processing, the jars must cool undisturbed to create a vacuum seal. This is as crucial as the canning itself.
- Once the processing time is complete, turn off the heat and remove the canner lid, allowing the jars to sit for 5 additional minutes.
- Remove the jars using a jar lifter and place them on a towel or cooling rack, ensuring they do not touch each other to prevent heat transfer.
- Let the jars cool for 12-24 hours. You’ll typically hear a popping sound as the lids seal.
- After cooling, check the seals by pressing the center of each lid. If it pops back, the jar hasn’t sealed and should be refrigerated or reprocessed.
- Label your jars with the date and store them in a cool, dark place—your canned cabbage is now ready for the pantry!
Learn more: What is Nappa Cabbage
Safety Tips and Best Practices
Preserving cabbage by canning is an excellent way to extend its shelf life and enjoy its flavors year-round. However, adhering to safety tips and best practices is crucial to protect against foodborne illnesses. The process involves understanding potential risks and taking the necessary steps to create a safe canned product. Let’s delve into effective strategies to ensure your canned cabbage not only tastes great but remains safe for consumption.
Understanding the Risks of Botulism
Clostridium botulinum is the bacterium responsible for botulism, a serious illness that can be lethal. This bacterium thrives in low-acid, anaerobic environments like those found in improperly canned foods. By heating to the right temperature and for the correct duration, you can eliminate the risk of botulism, ensuring your cabbage is both delicious and safe.
- Use pressure canning for canning cabbage to achieve the high temperatures needed to kill all spores.
- Never skimp on processing time – follow tested recipes and processing times precisely.
Ensuring Proper Sanitization
Starting the canning process with sterile equipment is paramount. Implement these sanitization measures to create an environment hostile to unwanted bacteria:
- Wash all canning equipment, jars, and lids in hot, soapy water.
- Rinse thoroughly to remove all traces of soap.
- Boil jars and lids for at least 10 minutes to sterilize before filling.
- Keep jars hot until ready to fill to prevent bacterial contamination.
How to Identify Properly Sealed Cans
A secure seal is the barrier that keeps food safe in the canning process. Recognize a properly sealed can with these signs:
- The lid is curved downward and does not move when pressed.
- A solid vacuum seal has formed, evident by the lack of air bubbles or liquid leakage.
- Lids emit a satisfying “ping” as they seal while cooling.
Inspect each jar once cooled – any with compromised seals should be refrigerated and used promptly.
Shelf Life and Storage Recommendations
Optimal storage conditions extend the shelf life of canned cabbage. Follow these storage recommendations:
| Storage Condition | Guideline |
|---|---|
| Temperature | Keep at 50°F to 70°F |
| Lighting | Store in a dark place |
| Humidity | Maintain moderate humidity to prevent rusting |
Typically, properly canned and stored cabbage can last for up to 12-18 months. Always label and date your cans to keep track of their freshness period.
Conclusion
Canning cabbage at home is a rewarding venture, ensuring you enjoy this versatile veggie year-round. Embrace the tradition by following the steps outlined, and relish the taste of your labor. Safety and patience are your allies here, leading to delicious, shelf-stable results.
Let’s get canning and savor the homemade goodness. Nourish your passion for gardening with a special focus on cabbages. Farm Pioneer‘s Cabbage section offers a wealth of knowledge for gardeners at every level.