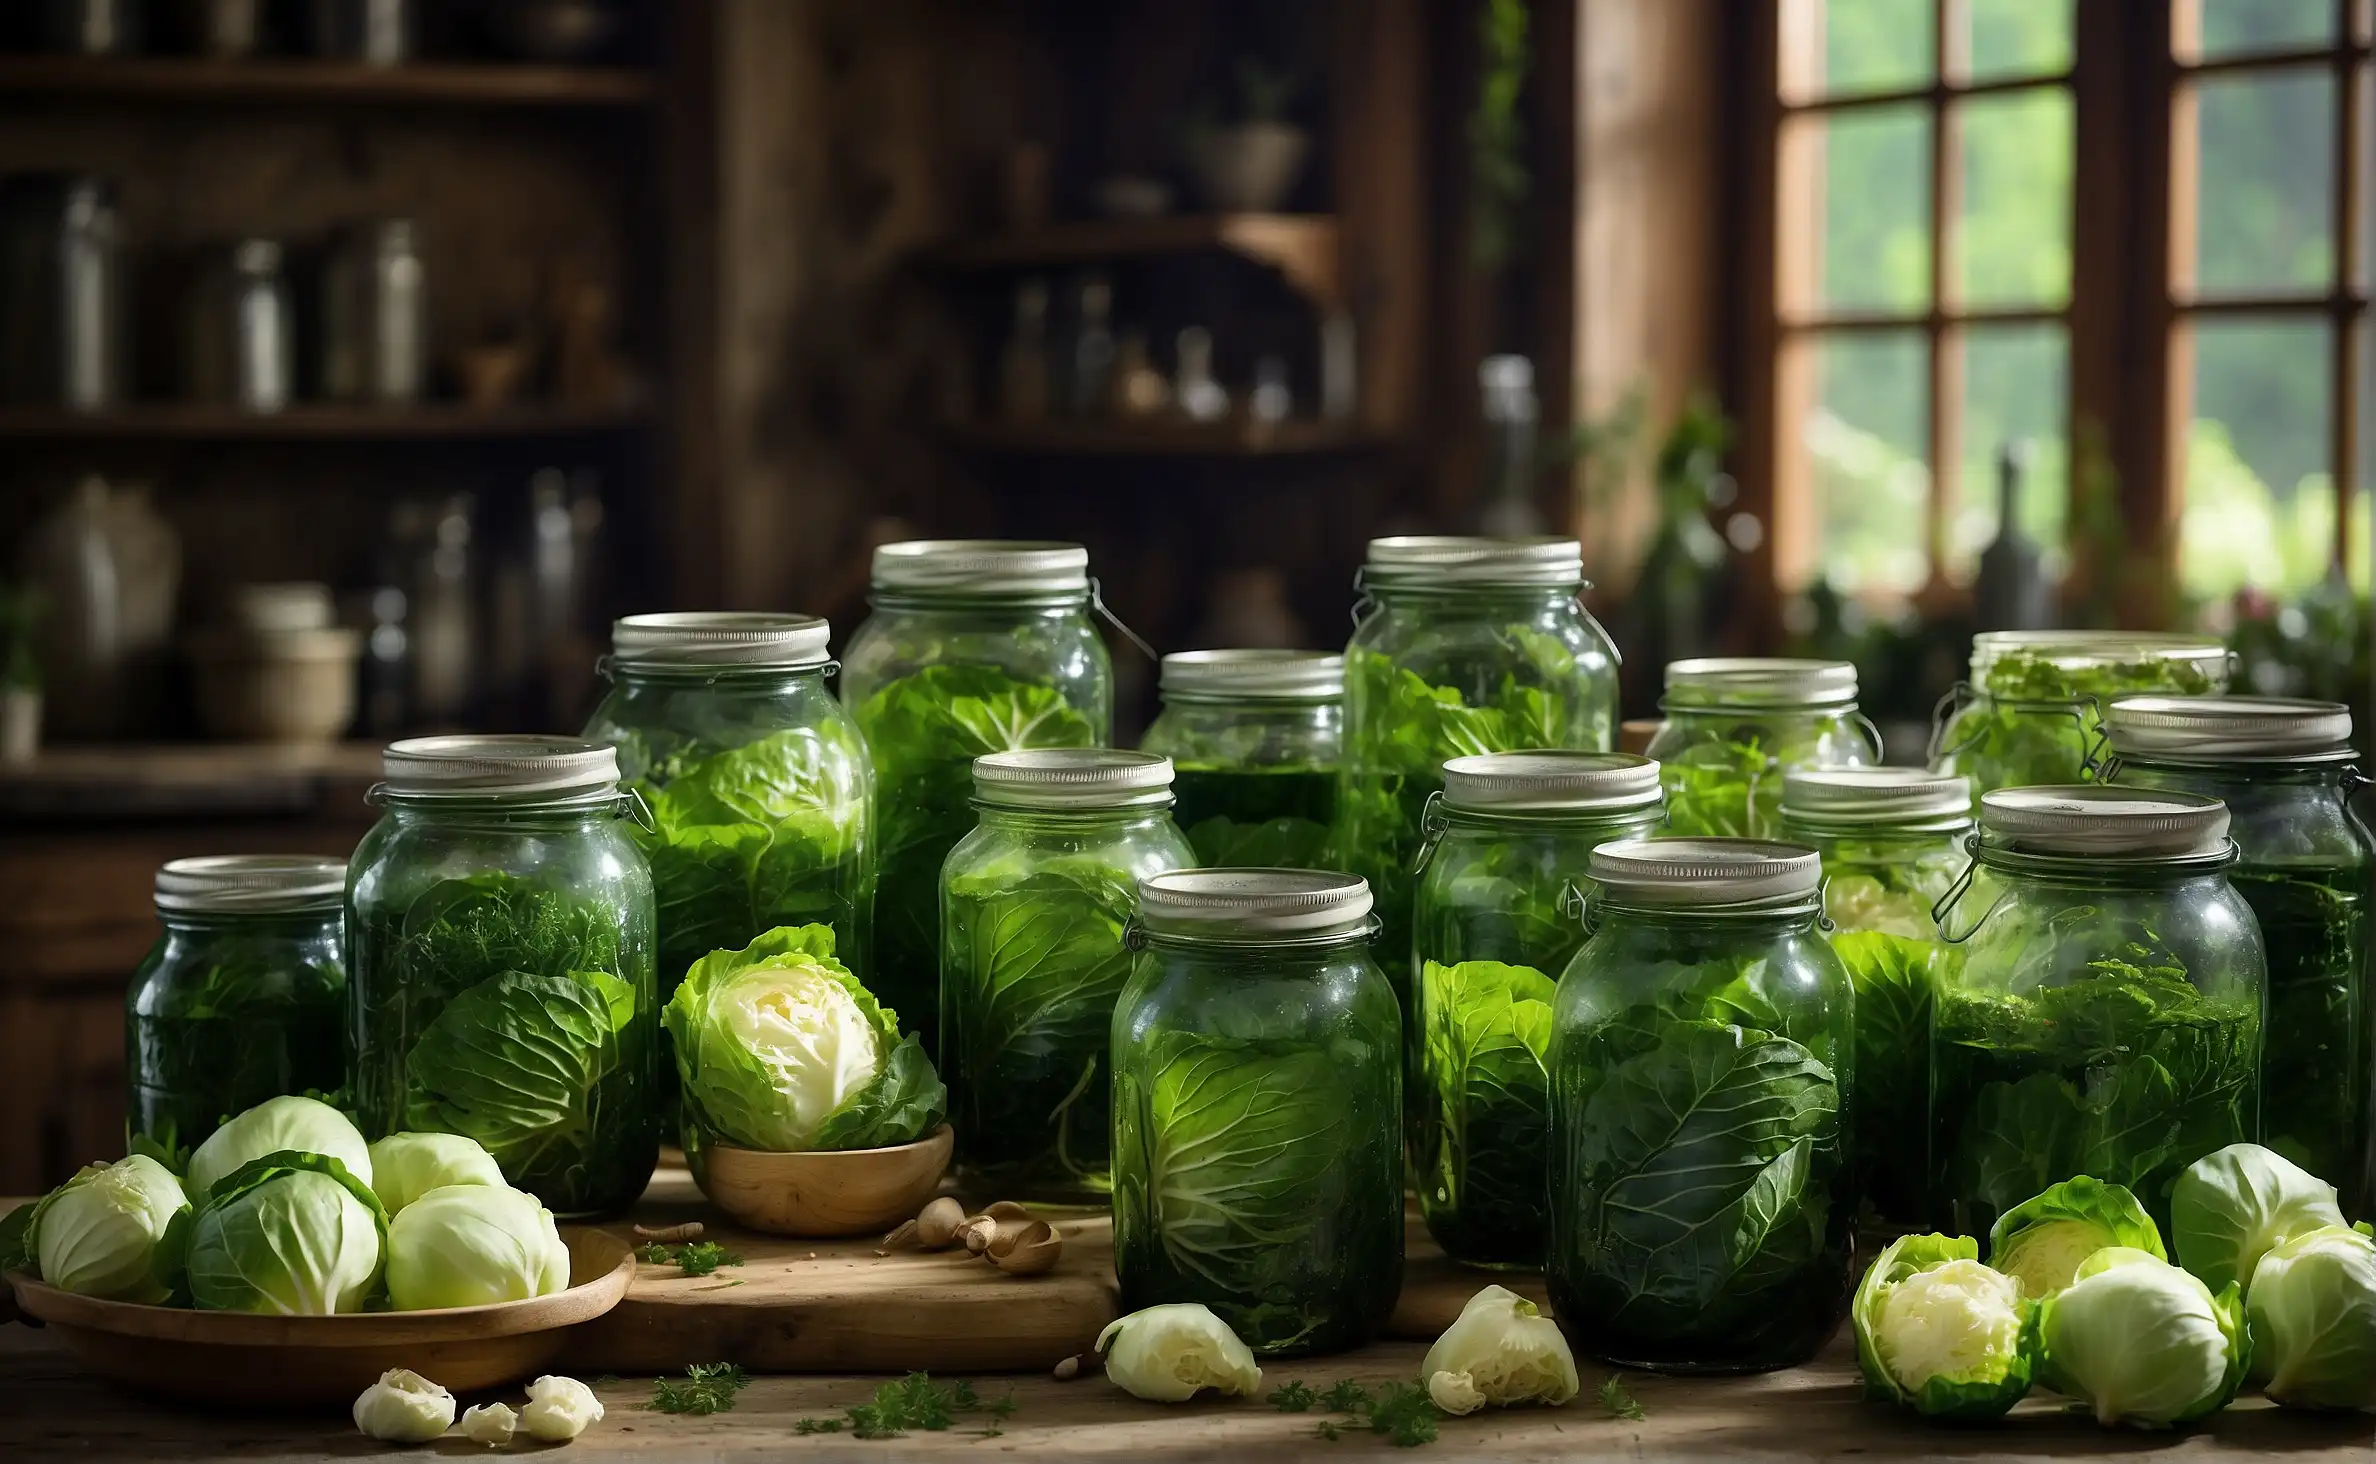
To can cabbage in jars, first sterilize the jars and prepare a brine, then pack the cabbage tightly into jars, cover with the brine, and process in a water bath canner. Canning cabbage is a fantastic way to preserve the vegetable’s crunchy texture and nutritional benefits for year-round enjoyment.
This simple method of home preservation is a great way to make the most of your cabbage harvest or take advantage of seasonal sales at the market. Understanding the basic principles of canning ensures safety and quality, with sterilization and proper sealing being paramount.
The process involves preparing your cabbage, selecting the right jars, and learning the water bath canning technique. This not only extends the shelf life of cabbage but also allows you to enjoy your homemade pickled or fermented preparations with minimal effort. With the right tools and guidance, canning cabbage can become a rewarding addition to your home preservation activities.
Introduction to Canning Cabbage
Canning cabbage is a fantastic way to preserve the bountiful harvest of your garden or take advantage of sales at the local farmer’s market. Canning allows you to enjoy the crispy, tangy goodness of cabbage year-round, transforming it into dishes such as sauerkraut, relishes, and shelf-stable sides. This guide aims to unlock the art of cabbage preservation through canning, ensuring you have the know-how to stock your pantry with this versatile vegetable.
The Benefits of Canning
Canning cabbage brings a multitude of benefits. Longevity is at the forefront, as the process extends the shelf-life of cabbage, ensuring it can be enjoyed well beyond its season. Home-canned cabbage also means you have control over the ingredients, allowing for healthier choices. Here’s a glance at the perks:
- Extended Shelf Life: Canned cabbage can last for up to a year when stored properly.
- Nutrient Preservation: The canning process locks in vitamins and minerals.
- Eco-friendliness: Reduces food waste by preserving excess cabbage.
- Convenience: Pre-canned cabbage is ready to use in recipes at a moment’s notice.
- Cost-effective: Save money by buying cabbage in bulk and canning it yourself.
Overview of the Canning Process for Cabbage
Canning cabbage involves a series of steps that ensure the vegetable is preserved safely and maintains a high quality of taste and texture. Here is a brief overview:
- Prepare your cabbage by washing and cutting it into the desired size.
- Blanch the cabbage to stop enzyme action which can spoil the food.
- Pack the cabbage into sterilized jars, leaving the necessary headspace.
- Add a canning liquid, such as vinegar or brine, to the jars.
- Remove air bubbles and wipe the jar rims for a clean seal.
- Place the lids on the jars and screw on the bands until fingertip tight.
- Process the jars in a water bath canner or pressure canner depending on the recipe.
- Cool the jars, check for seals, and then store in a cool, dark place.
Safety Precautions and Best Practices
Safety is paramount when canning cabbage to prevent foodborne illnesses such as botulism. It’s crucial to adhere to tested recipes and to follow these best practices:
| Best Practice | Reason |
|---|---|
| Use the correct canning method | Some recipes require a water bath, others need pressure canning. |
| Follow processing times | Proper time ensures pathogens are destroyed. |
| Work with clean equipment | Reduces the risk of contamination. |
| Check seals after cooling | Ensures the jar is airtight; unsealed jars must be refrigerated and used first. |
| Store jars properly | Keeps canned cabbage in optimal condition. |
Full adherence to these safety protocols ensures enjoyable and safe consumption of your canned cabbage.
Preparing the Cabbage for Canning
Embarking on the journey of canning cabbage is a rewarding venture that promises an abundance of this crunchy, nutritious vegetable all year round. The key to perfectly canned cabbage starts with the initial, all-important step of preparation. Ensuring that the cabbage and jars are in prime condition for canning will not only make the process smoother but also guarantee the safety and longevity of your preserved bounty.
Selecting the Right Cabbage
For a successful batch of canned cabbage, selecting firm, dense, and vibrant heads is paramount. Here’s a quick guide to choosing the best cabbage for your canning endeavors:
- Seek out heads of cabbage that feel heavy for their size, showcasing their juiciness and freshness.
- Ensure the leaves are tight and compact, as loose leaves might indicate an older cabbage with less crunch.
- Opt for cabbage with a bright, even color free from major blemishes or signs of insect damage.
Cleaning and Sterilizing Jars
Before cabbage can make its way into the jars, proper sterilization is crucial to prevent bacterial growth and spoilage:
- Wash jars and lids with hot, soapy water and rinse thoroughly to remove any dirt or debris.
- Next, sterilize jars in boiling water for at least 10 minutes to eliminate all contaminants.
- Keep jars in hot water until they are ready to be filled to ensure they remain germ-free.
Prepping Cabbage: Washing, Chopping and Blenching
The prepping process is essential for quality and consistency in your canned cabbage. Here’s a straightforward approach:
| Step | Action |
|---|---|
| Washing | Remove the outer leaves, cut the cabbage into quarters, and rinse under cold water to clean thoroughly. |
| Chopping | After washing, cut the cabbage into the desired size, keeping pieces uniform for even canning. |
| Blenching | Boil cabbage pieces for 2-3 minutes to destroy enzymes, then quickly transfer to icy water to halt cooking. |
Note the importance of the blenching step – this technique, often referred to as blanching, not only preserves the cabbage’s color and texture, but also reduces the potential for bacterial growth. After completing these preparatory steps, your cabbage is ready for canning, ensuring a delicious and safe addition to your pantry.
Learn: How Long before Cabbage Goes Bad
Canning Methods for Cabbage
Preserving the harvest can be a delightful endeavor, especially regarding the versatile cabbage. Canning is a time-tested methodology that not only extends the shelf life of cabbage but also locks in its nutrients and flavors for future use. Whether in the form of sauerkraut or as part of a vegetable mix, canning cabbages is an excellent way to enjoy your bounty year-round. Let’s explore the different canning methods that can help turn your cabbage harvest into a pantry staple.
Cold Pack Canning: Procedure and Tips
For those new to canning, the cold pack method is a good starting point. This approach involves packing raw, trimmed, and washed cabbage into jars before covering them with boiling water or brine and sealing.
- Start by sterilizing the jars and lids.
- Prepare the cabbage by slicing or shredding it depending on your preference.
- Distribute the cabbage evenly into the jars, leaving headspace at the top.
To ensure safety and quality, follow these tips:
- Use fresh, crisp cabbage.
- Remove excess air bubbles by gently tapping the jars.
- Adjust headspace as needed before wiping the rim and sealing.
- Process the jars in a boiling water canner following USDA guidelines for your altitude.
Hot Pack Canning: Advantages and Methodology
Hot pack canning involves a brief cooking step before filling the jars, offering distinct advantages, such as reduced shrinkage and improved flavor and color retention. This method is perfect for those looking to maximize the durability and aesthetic appeal of their canned cabbage.
- Blanch the cabbage for a couple of minutes in boiling water.
- Fill the jars with hot cabbage and cover with cooking liquid or hot brine, maintaining proper headspace.
- Seal and process using a boiling water canner, ensuring to adjust the time for your altitude.
Remember, hot pack canning reduces the risk of spoilage due to the pre-cooking step that helps to eliminate air and bacteria.
Pressure Canning: Why It Is Essential for Cabbage
Given that cabbage is a low-acid vegetable, pressure canning is crucial for thwarting botulism and other bacteria that cannot be eliminated through boiling water canning. Pressure canning reaches higher temperatures necessary to ensure the safety of your canned cabbage.
- Prepare your pressure canner by following the manufacturer’s instructions for your model.
- Heat jars and lids to prevent the glass from breaking when filled with hot contents.
- Choose between cold or hot pack methods for preparing your cabbage, then fill your jars and secure the lids.
Key tips to bear in mind:
- Adjust pressure according to your altitude.
- Process for the time specified by a reliable source such as the National Center for Home Food Preservation.
- Allow the pressure canner to depressurize naturally before opening.
Ensuring safety and quality in your home-canned cabbage is paramount. Stick to the validated processing times and pressures to enjoy your cabbage safely throughout the year.
Storing and Using Canned Cabbage
Embarking on the journey of canning cabbage is not only a delightful way to preserve its crunchy goodness but also an adventure into the world of homemade staples. Once the cabbage is safely tucked away into jars and processed to perfection, the next critical phase is storage and utilization. Appropriate storing conditions and knowing when your canned cabbage has passed its prime are essential for maintaining its quality. Let’s unlock the secrets to maximizing the shelf-life of your canned delicacies and explore innovative ways to bring your canned cabbage to life in your meals.
Proper Storage Techniques
Storing your canned cabbage correctly is paramount to extending its freshness and usability. Here are the steps to proper storage:
- Keep jars in a cool, dark place such as a pantry or cellar.
- Avoid areas with direct sunlight or drastic temperature changes.
- Ensure the storage spot is dry to prevent rusting of the lids.
- Avoid placing jars near appliances or heating sources.
By adhering to these techniques, the integrity of the seal and the quality of your canned cabbage remain intact.
Shelf Life and Signs of Spoilage
Understanding the shelf life and recognizing spoilage are key to safety and enjoyment. Generally, canned cabbage can last for:
| Storage Condition | Expected Shelf Life |
|---|---|
| Properly sealed and stored | 1-2 years |
Be vigilant for these signs of spoilage:
- Off-odors or colors.
- Lids that bulge or leak.
- Visible mold or fermenting bubbles.
- Any suspicion merits discarding the jar.
Creative Ways to Use Canned Cabbage
Canned cabbage isn’t just for traditional dishes; creative culinary applications abound. Try these innovative ideas:
- Mix into hearty stews for added texture.
- Blend with mayonnaise and carrots for a quick cabbage slaw.
- Layer into vegetarian lasagnas or casseroles.
- Enrich soups with its flavorful presence.
With versatile usage, your canned cabbage transforms from a preserved ingredient to a culinary star.
Conclusion
Preserving cabbage in jars is simple, rewarding, and sustainable. Embrace this homesteading skill to enjoy the fruits of your labor year-round. Follow the steps outlined, stay vigilant about sterilization, and your pantry will thank you.
Let your cabbages thrive under your care. Keep connected with Farm Pioneer and explore our Cabbage section for top-tier gardening wisdom. Happy canning!