Clean Brussels sprouts by trimming the stem, removing any yellow leaves and soaking them in cold water. Gently rub each sprout to remove dirt.
Brussels sprouts, the mini cabbages of the vegetable world, are a nutritiously dense and versatile green that deserve a spot in any healthy diet. Preparing and cleaning these little buds is simple yet crucial for both taste and safety. Whether you’re roasting, sautéing, or steaming them, starting with clean Brussels sprouts ensures your dish is free from dirt and debris.
About Brussels Sprouts
Brussels sprouts, the miniature cabbage-like vegetables, have climbed the ranks in the world of healthy eating. Known for their nutty, slightly sweet flavor and versatile nature, they’ve become a staple in the kitchens of health enthusiasts and chefs alike. But before diving into the countless recipes available at our fingertips, it’s crucial to understand what these green gems are and how to properly prepare them.
Overview of Brussels Sprouts
Brussels sprouts belong to the Brassicaceae family, which also includes broccoli, kale, and cauliflower. These leafy green buds are harvested from their stalks and come in a range of sizes, typically around one to two inches in diameter. Popular cooking methods include roasting, steaming, and sautéing, elevating the dining experience with their unique taste and texture.
Health Benefits of Brussels Sprouts
- Rich in Nutrients: Packed with vitamins K and C, Brussels sprouts offer a bevy of nutrients in just a small serving.
- Antioxidant Properties: The presence of antioxidants such as kaempferol helps combat oxidative stress and may reduce cancer risk.
- Dietary Fiber: A high fiber content supports digestive health and aids in maintaining a healthy weight.
- Omega-3 Fatty Acids: Though less than fish, these veggies provide a plant-based source of omega-3, beneficial for heart health.
Importance of Proper Cleaning
Cleaning Brussels sprouts is not just about removing dirt and debris—it is pivotal for safe consumption. Properly washed sprouts ensure removal of any pesticides or harmful bacteria lurking on the outer layers. Additionally, a thorough cleaning helps to maintain the integrity of their flavor and nutritional value, which can be compromised by external contaminants.“` This HTML content introduces Brussels sprouts, highlighting their place in the vegetable kingdom, the notable health benefits they offer, and the undeniable importance of cleaning them properly. It’s structured neatly with H3 headings to guide readers through the text, making the information digestible and optimized for search engine visibility.
Preparation Before Clean Brussels Sprouts
Launching into the world of vibrant veggies, mastering the art of perfectly preparing Brussels sprouts promises a transformative experience for your taste buds. Before the actual cleaning begins, a well-plotted preparation process is paramount to ensure your sprouts are ready for the culinary spotlight. Let’s embark on a pre-cleaning adventure that sets the stage for these miniature cabbages to shine.
Selecting Fresh Brussels Sprouts
The cornerstone of delectable Brussels sprouts lies in their freshness. Begin by opting for firm, bright green sprouts that boast tightly packed leaves. Uniformity in size can be your secret sauce to even cooking times. Steer clear from sprouts with yellowing leaves or pockmarks, as these are telltale signs of aging or pest damage.
Gathering Cleaning Supplies
Assemble your cleaning arsenal with efficacy in mind. At the bare minimum, you’ll need a colander, a sharp knife, and a cutting board. For a natural cleanse, consider vinegar or baking soda. A thoughtful lineup of supplies promises a streamlining of the cleaning process to follow.
Trimming the Brussels Sprouts
With your fresh sprouts on hand and cleaning supplies at the ready, turn your attention to trimming. Begin by slicing off the tough, woody end of each sprout. Any loose or damaged outer leaves should also be removed. This prudent trimming ensures a uniform shape and size, paving the way for a more thorough cleaning and an impeccable eating experience.
Process to Clean Brussels Sprouts
Brussels sprouts, the tiny cabbages brimming with nutrients, often carry dirt and debris from the fields where they were harvested. Ensuring they’re clean before cooking is crucial for both health and taste. Follow these thorough steps for cleaning Brussels sprouts efficiently, so you can enjoy them to the fullest!
Soaking and Swirling
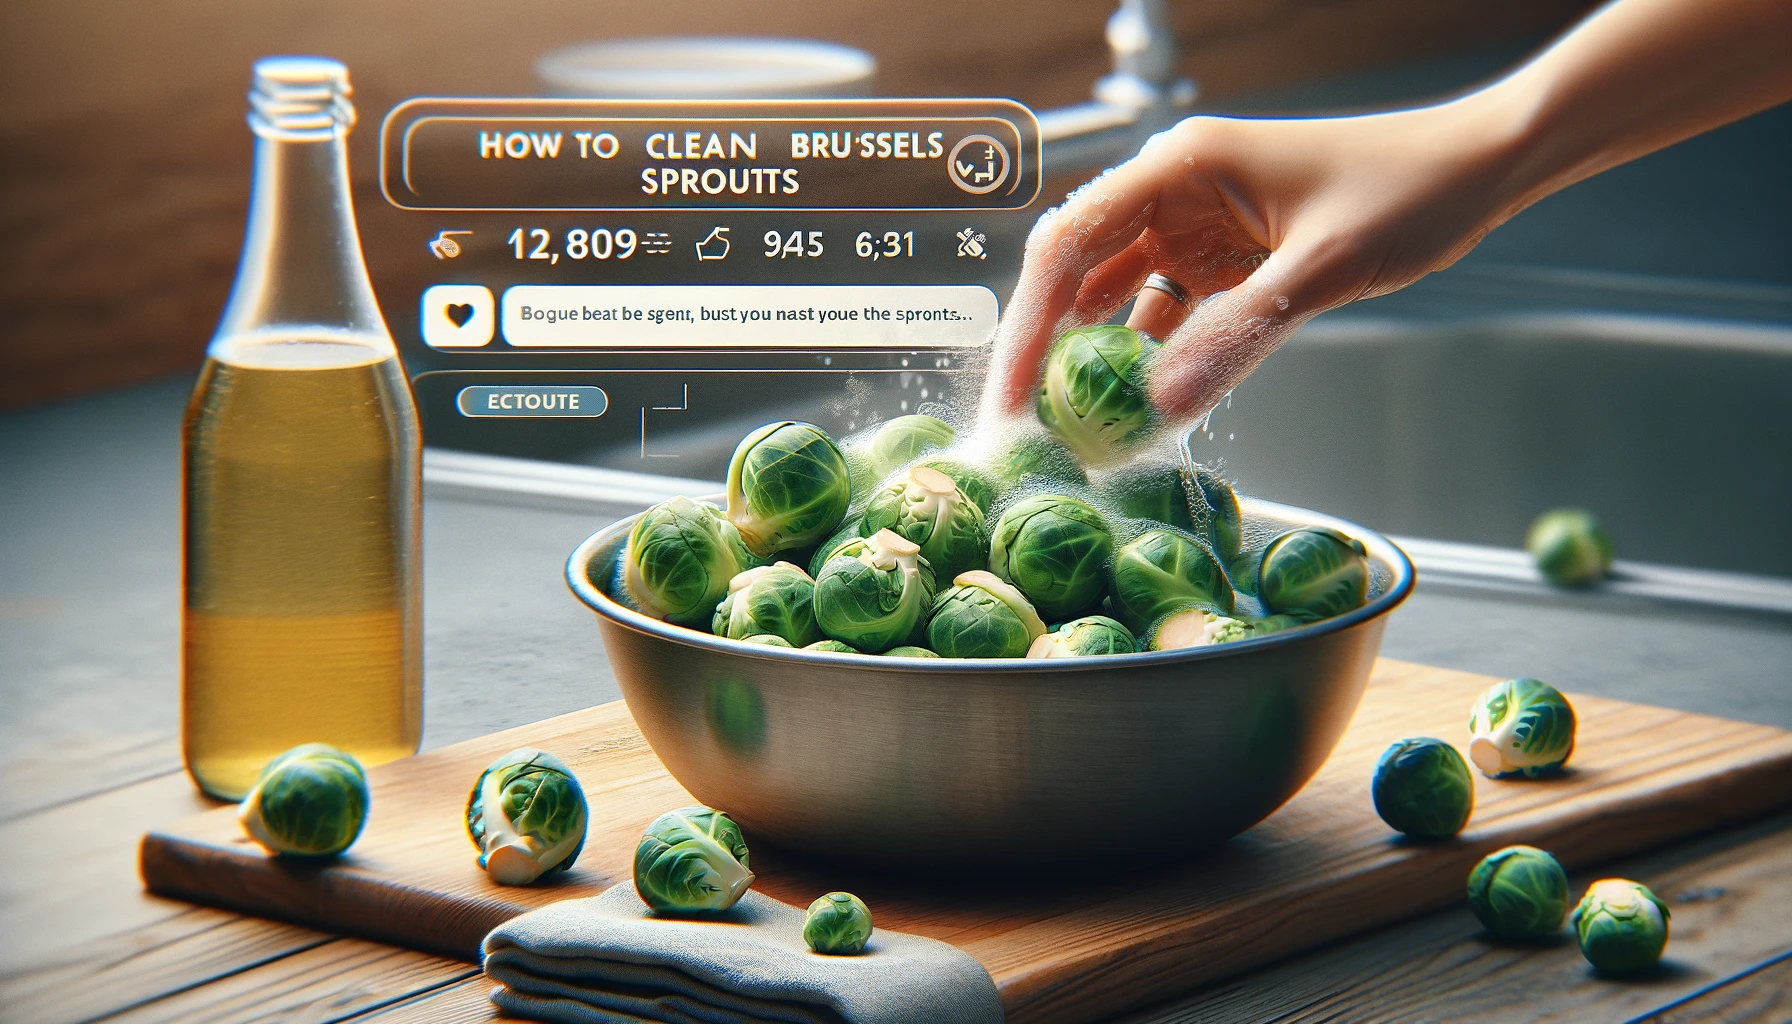
Start by prepping your sprouts for a bath. Remove them from any packaging and place them in a bowl large enough to accommodate all of them comfortably. Cover the sprouts with cold water, allowing some room for movement. This is where you dislodge hidden dirt. Add a teaspoon of salt to the water, which helps to draw out tiny insects and unwanted residue. Gently swirl the water with your hands, loosening any clinging soil. Let the Brussels sprouts sit for a few minutes to ensure maximum cleaning power.
Rinsing and Inspecting
After soaking, it’s time to rinse the Brussels sprouts under running water. Use a colander for this step to make it easier. As the water runs over them, turn the sprouts around with your hands to ensure water reaches all surfaces. Perform a visual inspection during this process. Look closely for signs of dirt hidden in the outer leaves or at the stem, making sure each sprout gets individual attention and is properly cleaned.
Removing Damaged Leaves
Upon inspection, you’ll likely find some external leaves that are damaged or wilted. These leaves are not only unappetizing but can harbor more dirt and bacteria. Carefully peel away any damaged leaves and discard them. This step not only cleans but also improves the overall texture and appearance of your Brussels sprouts, ensuring they cook evenly later on.
Final Rinse Techniques
To finish, give your Brussels sprouts one last rinse. This rinse should be thorough but gentle. You might want to use a vegetable brush to softly scrub any remaining dirt from the stem area. Be careful not to damage the delicate leaves. After this final rinse, lay the Brussels sprouts out on a clean kitchen towel or let them air-dry in a colander. They should be moisture-free before you proceed with cooking to ensure the best texture and flavor in your dishes.
Learn more: What to Eat With Brussels Sprouts
Post-cleaning Handling and Storage
Once you’ve meticulously washed your Brussels sprouts, it’s crucial to handle them correctly to maintain their freshness. Proper post-cleaning handling and storage can significantly extend the shelf life of these nutritious vegetables. From drying to storage, a careful process ensures your Brussels sprouts are ready for future meals.
Drying the Brussels Sprouts
Immediately after cleaning, drying your Brussels sprouts is an essential step. Excess moisture can lead to faster spoilage, which is why it’s crucial to remove water thoroughly. To achieve this, you can either:
- Pat them dry with a clean cloth or paper towel.
- Use a salad spinner to ensure they’re moisture-free.
Once dry, move on to the appropriate storage method to preserve their quality.
Storing Cleaned Brussels Sprouts
The right storage technique is pivotal to keep cleaned Brussels sprouts at their best. Follow these steps:
- Place the dried Brussels sprouts in a breathable container or produce bag.
- Leave a bit of space for air circulation to prevent any natural gases from building up.
- Store them in the crisper drawer of your refrigerator to maintain optimal humidity levels.
This method will help retain their texture and flavor for several days, if not longer.
Tips for Keeping Brussels Sprouts Fresh Longer
To extend the freshness of Brussels sprouts even more, consider these tips:
| Tip | Benefit |
|---|---|
| Keep them whole | Halved or chopped Brussels sprouts spoil faster; keep them whole until you’re ready to cook. |
| Avoid washing until use | Moisture can accelerate decay, so only wash them when you’re about to cook. |
| Check regularly | Inspect the stored Brussels sprouts occasionally and remove any that have spoiled to protect others. |
Incorporate these simple yet effective handling and storage tips to get the most out of your Brussels sprouts, ensuring they remain fresh and nutritious for as long as possible.
Also know: How Many Carcinogens are in Brussels Sprouts
Conclusion
Mastering the art of cleaning Brussels sprouts brings you closer to enjoying these nutritious gems. Remember, with just a few simple steps, you can elevate your dishes to new heights. So, grab some fresh sprouts, follow these tips, and get ready to savor their natural goodness in your next meal.
Experience farm-fresh delight: Discover the Brussels Sprouts gem at Farm Pioneer, where freshness meets flavor in every bite. Happy cooking!