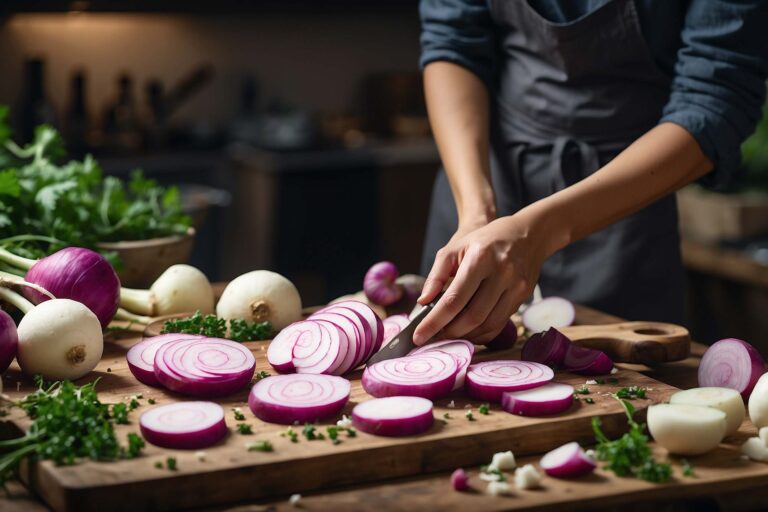
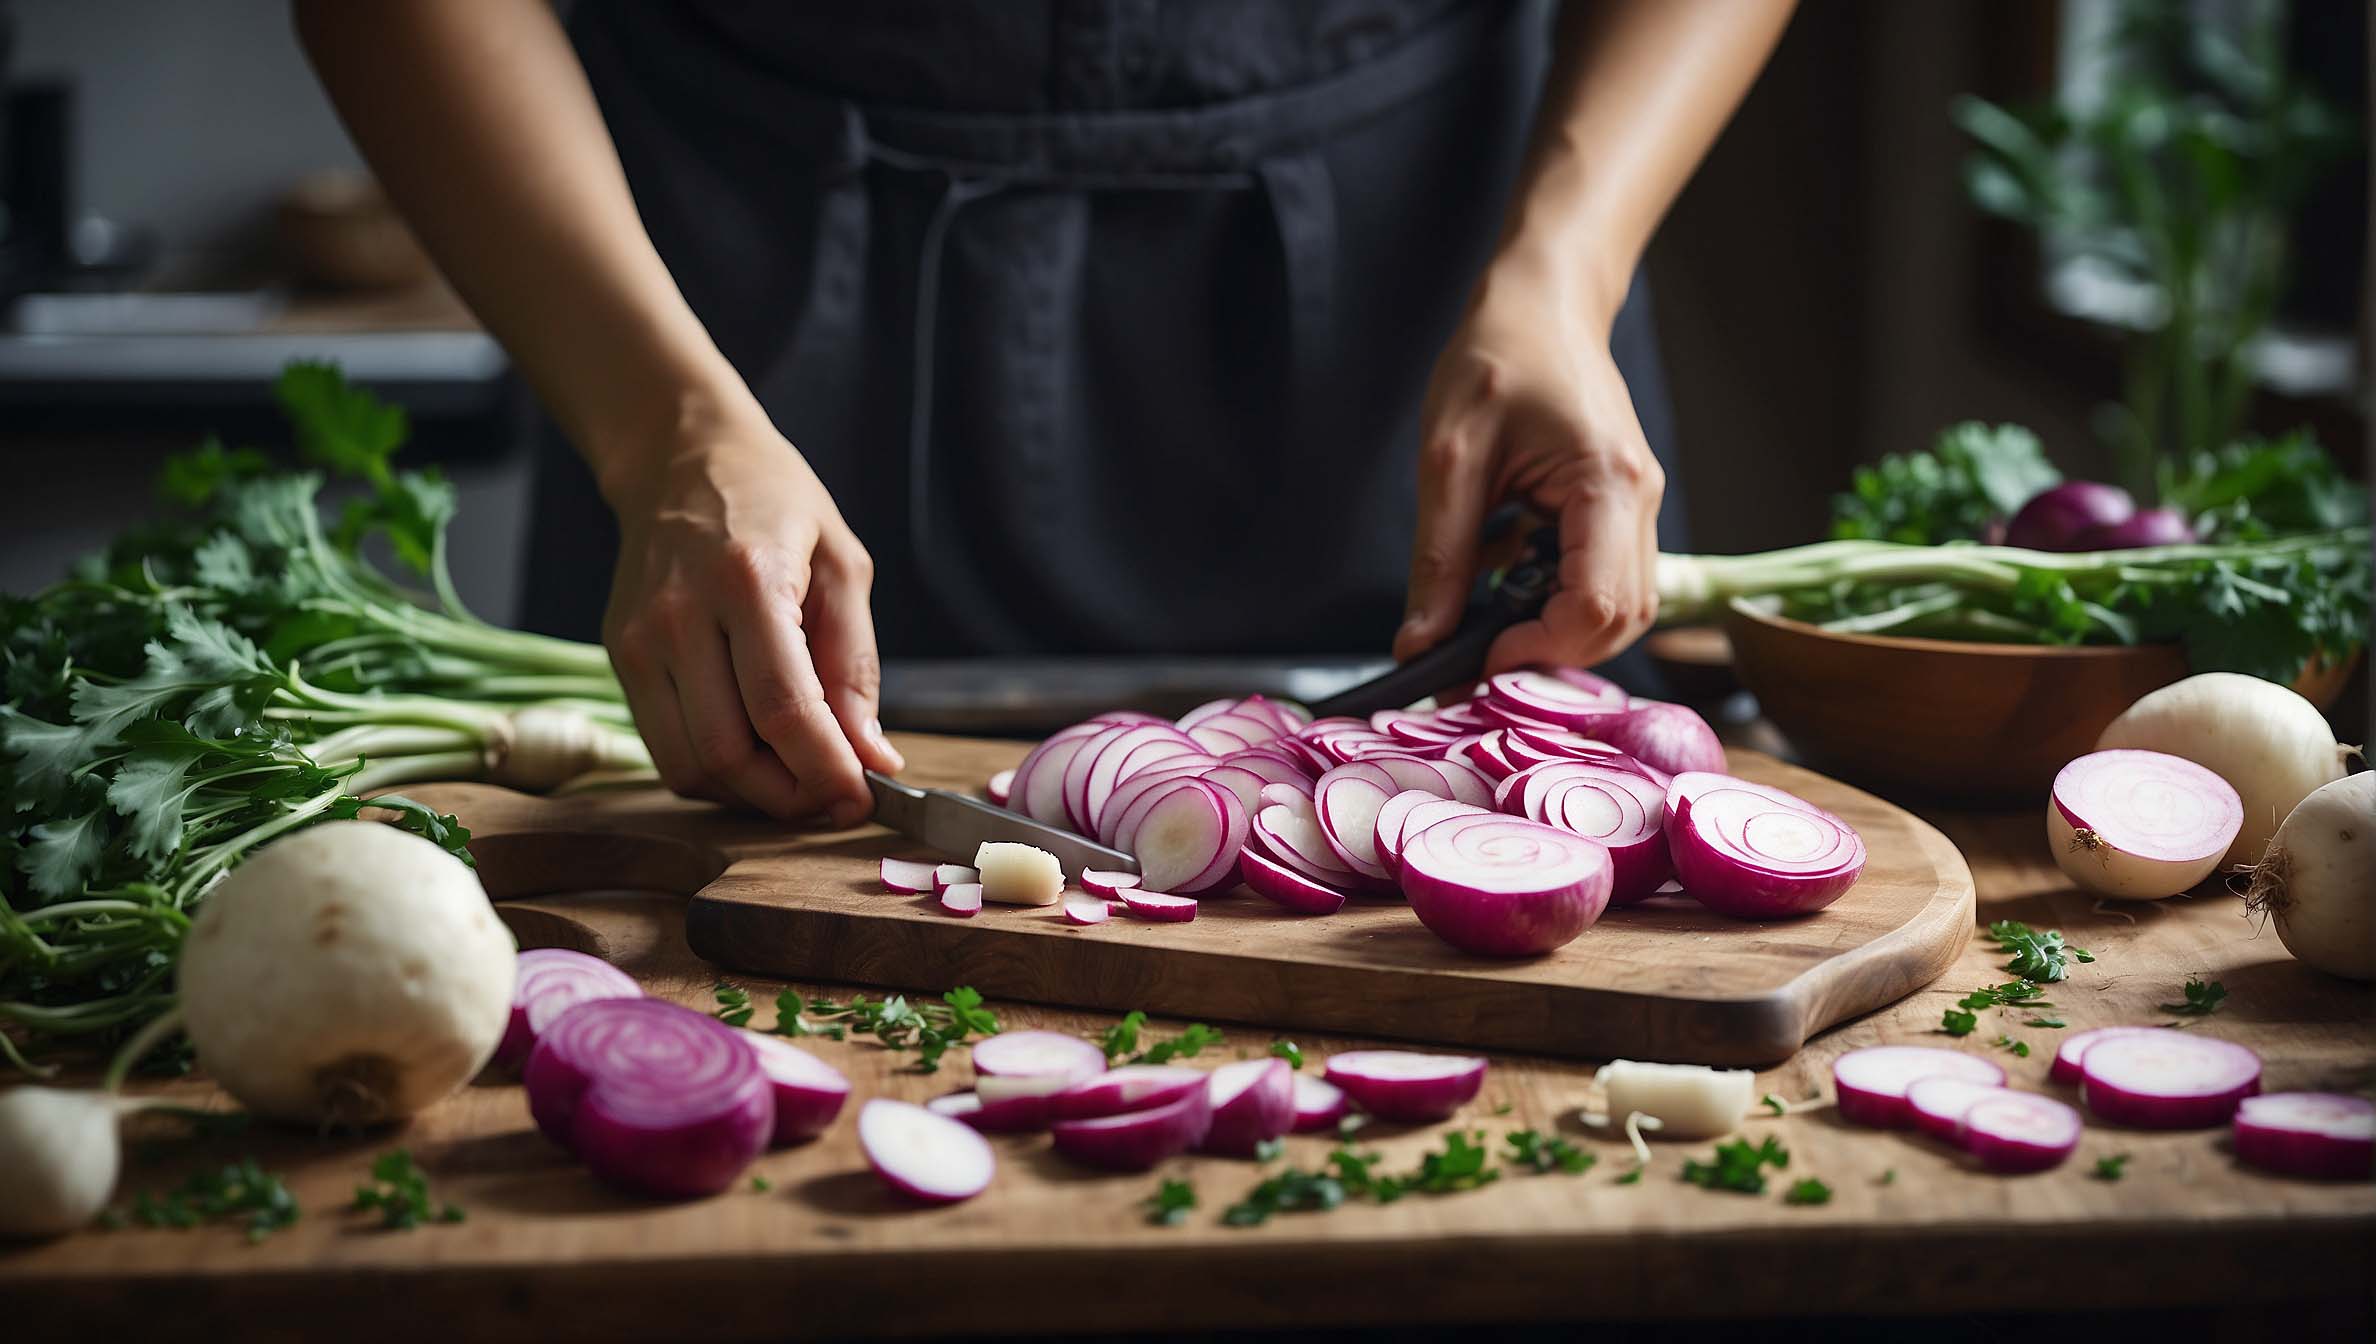
To cut a turnip, first peel off the skin, then slice it into uniform pieces. Ensure your knife is sharp for easier cutting.
Cutting a turnip might seem intimidating due to its tough exterior, but with the right technique, it’s quite simple. Turnips are versatile root vegetables that can enhance a variety of dishes, from stews to salads. They are packed with nutrients and a great source of fiber, vitamins C and B6, and minerals.
Selecting the Perfect Turnip for Cutting

Embarking on a culinary adventure with turnips starts long before the cutting board. To ensure your dish shines, selecting the perfect turnip for cutting is vital. A good choice in the produce aisle translates to flavor and texture in your culinary creations. Let’s dive into the art of picking the best turnip for your meal prep: from appreciating the importance of size to inspecting freshness and texture.
Size Matters: Choosing the Right Turnip
Size directly affects your turnip dishes. A small to medium turnip, roughly the size of a tennis ball, is ideal. These are typically sweeter and more tender. Large turnips tend to be woodier and may require longer cooking times. Aim for uniformity in size when selecting multiple turnips to ensure even cooking.
Examining Freshness and Texture
Turnips should feel heavy for their size, a sign they are juicy and fresh. The skin should be smooth and firm, free from bruises or soft spots. Check the texture: the outside should be rigid, indicating a crisp interior, perfect for that satisfying bite. The colour should be vibrant, typically a creamy white with purple-hued tops, signaling good health and freshness.
Tools and Preparation for the Task
Getting ready to cut a turnip starts with the right tools and prep steps. The better you prepare, the easier the task. Let’s explore the essentials for this kitchen venture.
Essential Kitchen Utensils
- Sharp Chef’s Knife: Ensures clean, easy cuts.
- Cutting Board: Opt for a sturdy one to keep things stable.
- Vegetable Peeler: Speeds up the peeling process.
- Bowl for Scraps: Keeps your workspace tidy.
Pre-cutting Procedures: Cleaning and Peeling
- Rinse the Turnip: Wash under cold water to remove dirt.
- Trim the Ends: Cut off the top and bottom for stability.
- Peel the Skin: Use your peeler to strip away the outer layer.
- Pat Dry: Before chopping, make sure the turnip is dry.
Mastering the Art of Cutting
Ready to become a turnip cutting expert? With the right technique, prepping these root veggies is simple. In this guide, we’ll detail each step to confidently transform a sturdy turnip into perfect kitchen-ready shapes. Grab your chef’s knife, and let’s start the journey to mastering the subtle art of cutting turnips the right way!
The Initial Chop: Top and Bottom Removal
First things first: time to remove the ends. Place your turnip on a stable cutting board. Using a sharp knife, slice off the top, where the greens were. Do the same for the bottom. This gives you a flat surface on both ends. A flat surface steadies the turnip and makes slicing safer.
Slicing Techniques: Cubes, Strips and Wedges
Now, let’s create different shapes. You can use cubes for stews, strips for stir-fries, and wedges for roasting.
Cubes:
- Halve the turnip lengthwise.
- Place the flat sides down for stability.
- Cut into slices, then stack and cross-cut to form cubes.
Strips:
- Start with a halved, flat-sided turnip.
- Slice into thin planks.
- Cut the planks into matchstick-sized strips.
Wedges:
| Step | Action |
|---|---|
| 1 | Cut the turnip in half from top to bottom. |
| 2 | Lay halves on the flat side. |
| 3 | Cut into thick, even wedges. |
Each cut style has its unique purpose in cooking. Uniformity is key for even cooking, so take your time with each slice. Sharp knives are crucial here, so be sure your knife is well-maintained. With practice, these techniques will become second nature, and your dishes will look as good as they taste!
Learn more: How to Cook Turnips Boiled
Safety Tips When Handling Knives and Turnips
Preparing turnips in the kitchen requires sharp knives and a steady hand. To ensure your experience is both safe and enjoyable, it’s crucial to follow some basic safety guidelines. These tips will help protect you from cuts and accidents, allowing you to focus on creating delicious turnip dishes.
Proper Hand Placement and Cutting Surfaces
Ensuring correct hand placement is key to avoiding injuries. Always keep your fingers tucked away from the blade. Use a claw grip to hold the turnip, with your fingertips pointing downward and knuckles guiding the knife. This prevents slipping and protects your fingers.
Choosing the right cutting surface is equally important. Opt for a non-slip cutting board to keep the turnip stable. You can place a damp cloth underneath to add extra grip. Make sure the surface is flat and clean before you start slicing.
Avoiding Common Mistakes
- Do not rush the cutting process. Swift, careless movements can lead to accidents.
- Never use a dull knife. It requires more force, increasing the risk of slipping. Always sharpen your knives before use.
- Keep your workstation tidy. Clear away peelings and trimmings to maintain a clean space and prevent mishaps.
- Avoid cutting small turnips in hand. Place them on a cutting board for better control and safety.
Remembering these simple yet effective tips will keep you safe and boost your confidence while handling knives and turnips in your kitchen adventures.
Storing Cut Turnips for Freshness
After mastering the art of cutting turnips, keeping them fresh is your next step. Freshly cut turnips can last longer with proper storage. Discover how to retain their crispness and flavor until your next culinary adventure.
Optimal Conditions for Refrigeration
Temperature and humidity matter for storing cut turnips in the fridge. Set your refrigerator to just above 0°C (32°F) with a humidity level around 95-100%. This prevents them from drying out.
- Use a sealed container or plastic bag with a few holes for ventilation.
- Place a damp paper towel inside to maintain moisture.
- Keep them away from fruits that release ethylene gas, such as apples.
Long-term Storage Solutions
For keeping cut turnips for months, freezing is effective.
- Blanch cut turnips in boiling water for two minutes.
- Transfer them to ice water to stop the cooking process.
- Drain and pat dry before freezing.
Store in freezer bags with air pressed out. Label with the date for use within eight months.
Conclusion
Cutting a turnip need not be a daunting task. With the right technique and proper tools, you’ll master this skill efficiently. Remember, safety first with any sharp instrument. Experiment with sizes for diverse recipes. Embrace the nutritious value turnips add to your meals.
Now, grab that turnip and get chopping. See all in at Farm Pioneer for knowledge based for Turnips.
