To prepare waxed turnips, peel them first, then cut into desired shapes and cook as preferred. Ensure to scrub off any residual wax before peeling.
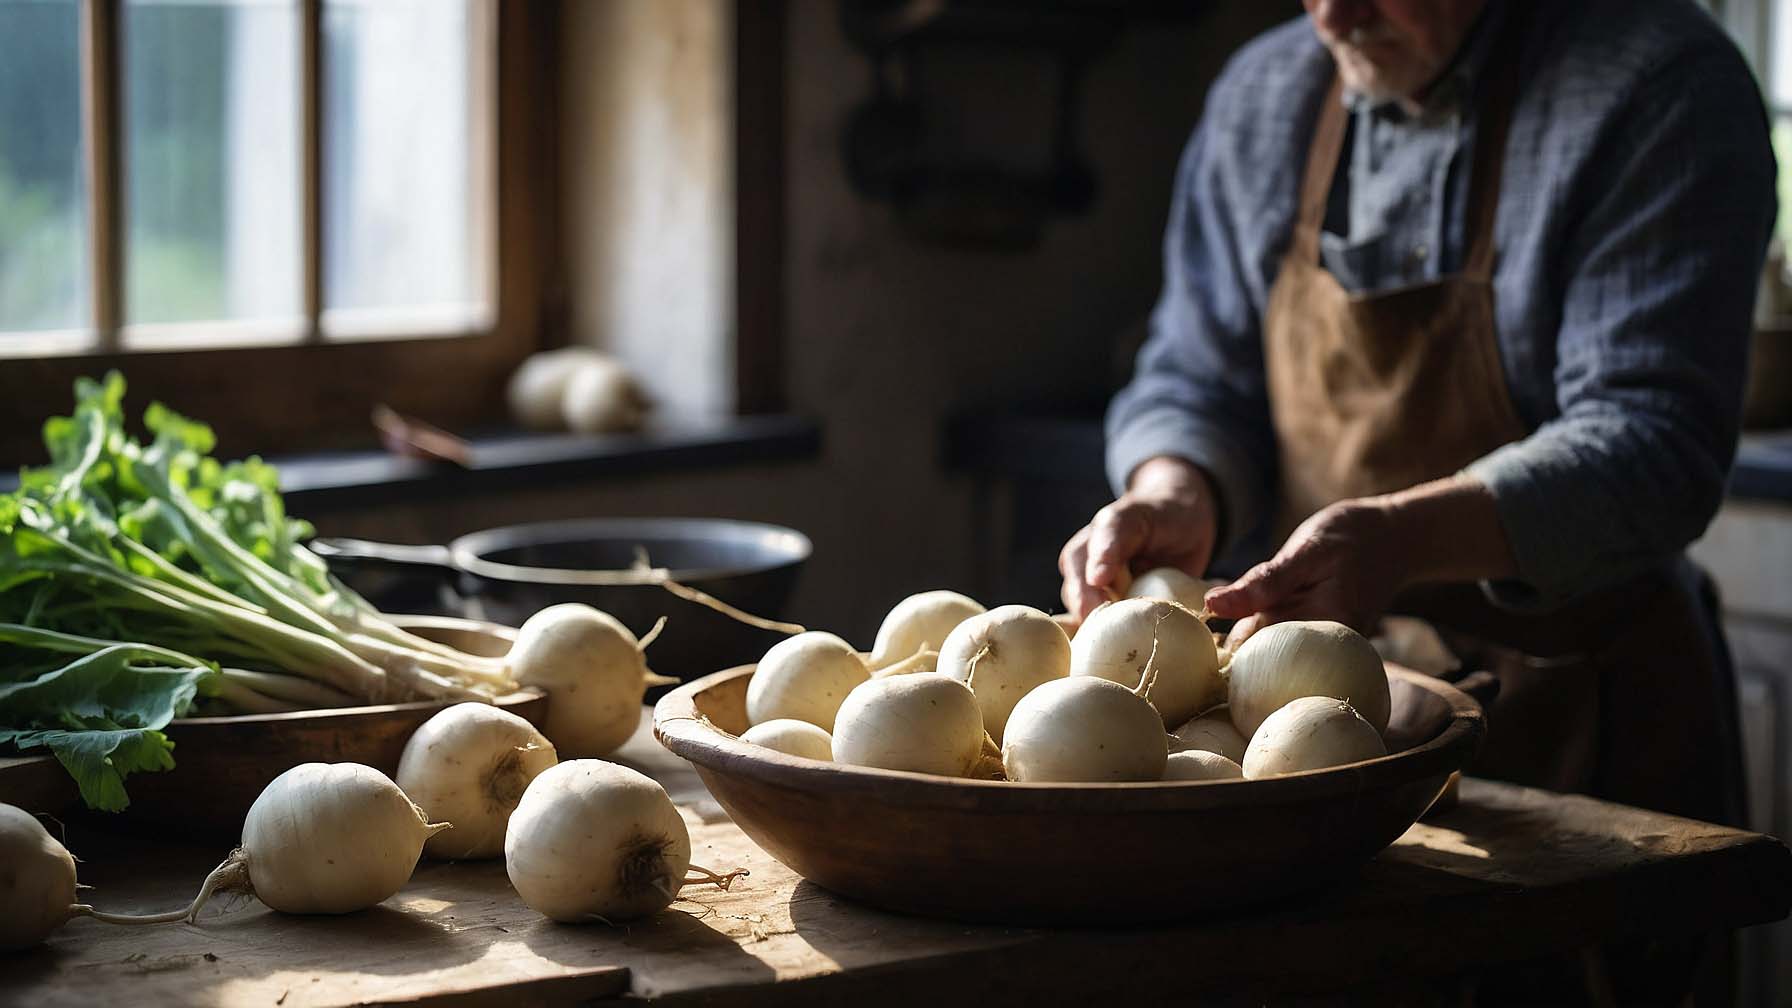
Preparing waxed turnips can be an exciting addition to your culinary repertoire. Begin by selecting fresh turnips, ensuring they are firm to touch with a glossy exterior. Keep your peeler handy, as these root vegetables are often coated with a layer of edible wax to preserve freshness.
Selecting the Perfect Turnips

Choosing the right turnips can turn a simple meal into a culinary delight. Whether it’s a hearty stew or a tangy pickled side, the foundation of flavor starts with selecting high-quality turnips. Mastering the art of pick comes with understanding what to look for. The following guide ensures only the best turnips make it to your table.
Criteria for Choosing Turnips
Size and color are your first indicators of quality. Smaller turnips tend to be sweeter, perfect for a waxed preparation. Look for turnips with bright, smooth skin, as this often signifies freshness. The ideal turnip feels heavy for its size, a sign they are juicy inside. Avoid those with blemishes or soft spots, as these may hint at an unpleasant texture or compromised taste.
- Bright, smooth skin indicates a fresh turnip.
- A heavy feeling suggests juiciness and density.
- No soft spots or blemishes should be visible.
Seasonal Considerations for Freshness
Turnips peak in fall and spring. During these seasons, they’re at their crispest and most flavorful. Farmers’ markets and community-supported agriculture (CSA) programs are prime spots for the freshest seasonal produce. Outside these peak times, root cellars or cold storage options keep turnips fresh longer. Check storage methods and dates to ensure you’re getting the freshest possible produce, even off-peak.
| Season | Quality Indicator |
|---|---|
| Fall | Optimal freshness and sweetness |
| Spring | Crisp texture ideal for waxing |
| Off-Peak | Check storage freshness |
Armed with these tips, you’re set to select waxed turnips that will uplift your dishes with taste and texture. Remember, quality ingredients are the start to unforgettable meals.
Essential Ingredients and Tools
Preparing waxed turnips is a delicious way to store and enjoy this versatile vegetable. Knowing the right ingredients and tools is key to making sure your turnips are perfectly preserved. Let’s get your kitchen ready for some waxing action!
Waxing Ingredients List
To successfully wax turnips, be sure you have these ingredients:
- Turnips: Pick fresh, firm ones.
- Paraffin Wax: This will create the protective coating.
- Water: You’ll need it to clean the turnips.
Necessary Kitchen Utensils
These tools will make the waxing process smooth and efficient:
- Pot: For melting the paraffin wax.
- Brush: To apply the wax onto the turnips.
- Tongs: To dip and hold the turnips in wax.
- Tray: To let waxed turnips cool off.
- Paper Towels: For cleaning and drying turnips.
Preparatory Steps Before Waxing
Turning humble turnips into waxed delights starts with simple preparation. This process ensures each turnip absorbs the wax evenly. By cleaning and cutting the turnips properly, the waxing process becomes more efficient. Prepping the turnips before waxing boosts their shelf life and maintains their crisp texture. Let’s explore the necessary steps to prime them for their glossy transformation.
Cleaning and Cutting Techniques
Clean turnips are essential for successful waxing. Begin with:
- Gently scrubbing each turnip under cold, running water to remove dirt.
- Patting them dry with a clean towel, ensuring no moisture remains.
The cutting stage is just as critical. Cut the turnips by:
- Removing tops and roots with a sharp knife.
- Slicing into uniform pieces for consistent waxing.
Blanching: Does It Help?
Blanching turnips before waxing can be beneficial. This hot water bath:
- Kills surface bacteria, preserving freshness.
- Softens the skin, allowing wax to adhere better.
Follow these steps to blanch:
| Step | Action |
|---|---|
| 1 | Boil water in a large pot. |
| 2 | Immerse turnips for 2-3 minutes. |
| 3 | Transfer to ice water to stop cooking. |
| 4 | Dry thoroughly before waxing. |
The Waxing Process
Preparing waxed turnips can extend their shelf life and keep them fresh. The waxing process is a simple method that involves coating turnips with a thin layer of wax. This seals in moisture and prevents spoilage. Here’s how to do it:
Mixing the Wax Solution
Create an effective wax mixture with these steps:
- Purchase food-grade wax. This is safe for consumption.
- Melt the wax in a double boiler until it reaches a liquid state.
- Add a thinning agent, such as vegetable oil, to prevent the wax from becoming too brittle.
Ensure the solution is smooth and consistent for application.
Proper Application Methods
Applying wax to your turnips is straightforward. Follow these tips:
- Use a clean brush or a cloth to apply the wax evenly.
- Coat the entire surface of the turnip, covering all nooks.
- Allow the wax to cool and set before storing the turnips.
Proper application ensures long-lasting freshness for your turnips.
Storing Waxed Turnips
Waxed turnips last longer than their unwaxed counterparts. Knowing how to store them ensures they stay fresh and crunchy. The wax coating acts as a moisture barrier. It extends their shelf-life by preventing dehydration and spoilage. Proper storage conditions are crucial for maintaining their quality over time.
Ideal Conditions for Longevity
To maximize the life of your waxed turnips, provide conditions that slow down decay. Bear in mind these vital aspects:
- Temperature: Keep them cool, but not frozen. Aim for 0°C to 4°C (32°F to 39°F).
- Humidity: High humidity of 90-95% is best. It prevents them from drying out.
- Air Circulation: Good air flow discourages mold growth. Use ventilated storage.
- Darkness: Shield turnips from light. This prevents them from becoming bitter.
Tips to Avoid Common Storage Mistakes
Simple habits can damage your turnips. Heed these pointers to avoid pitfalls:
- Avoid storing near ethylene-producing fruits like apples. Ethylene speeds up ripening.
- Place in a crisper drawer in your fridge. It maintains the right humidity.
- Separate leafy tops from the roots. The leaves can draw moisture from the roots.
- Check periodically for spoilage. Remove any turnip showing signs of rot to avoid affecting the rest.
Conclusion
Preparing waxed turnips doesn’t have to be intimidating. With the right tools and techniques, you’ll master this rustic delicacy quickly. Impress your guests or add a nutritious twist to your meals. Ready your kitchen and turn those waxed wonders into a dish to remember.
Start cooking and savor the flavors. See all in at Farm Pioneer for knowledge based for Turnips.