How to shorten a chainsaw chain, you ask? Well, it’s like tailoring a suit: precision is key. If you’ve ever wrestled with a chainsaw that’s just not cutting it—literally—it might be a chain issue. A chain that’s too long is like a loose belt; it just won’t do the job right.
In this guide, we’re going to dive into the nitty-gritty of chainsaw chain shortening. It’s not just about making it shorter; it’s about keeping your chainsaw in top-notch condition for those tough jobs on the farm. Let’s gear up and get to know our trusty tool a bit better.
Understanding Chainsaw Chains
Chainsaws are the rugged workhorses of the farm. But like any good tool, they need a bit of TLC to keep them running smoothly. The chain is the heart of the chainsaw, dictating everything from cutting efficiency to safety.
The Basics of Chainsaw Chain Structure
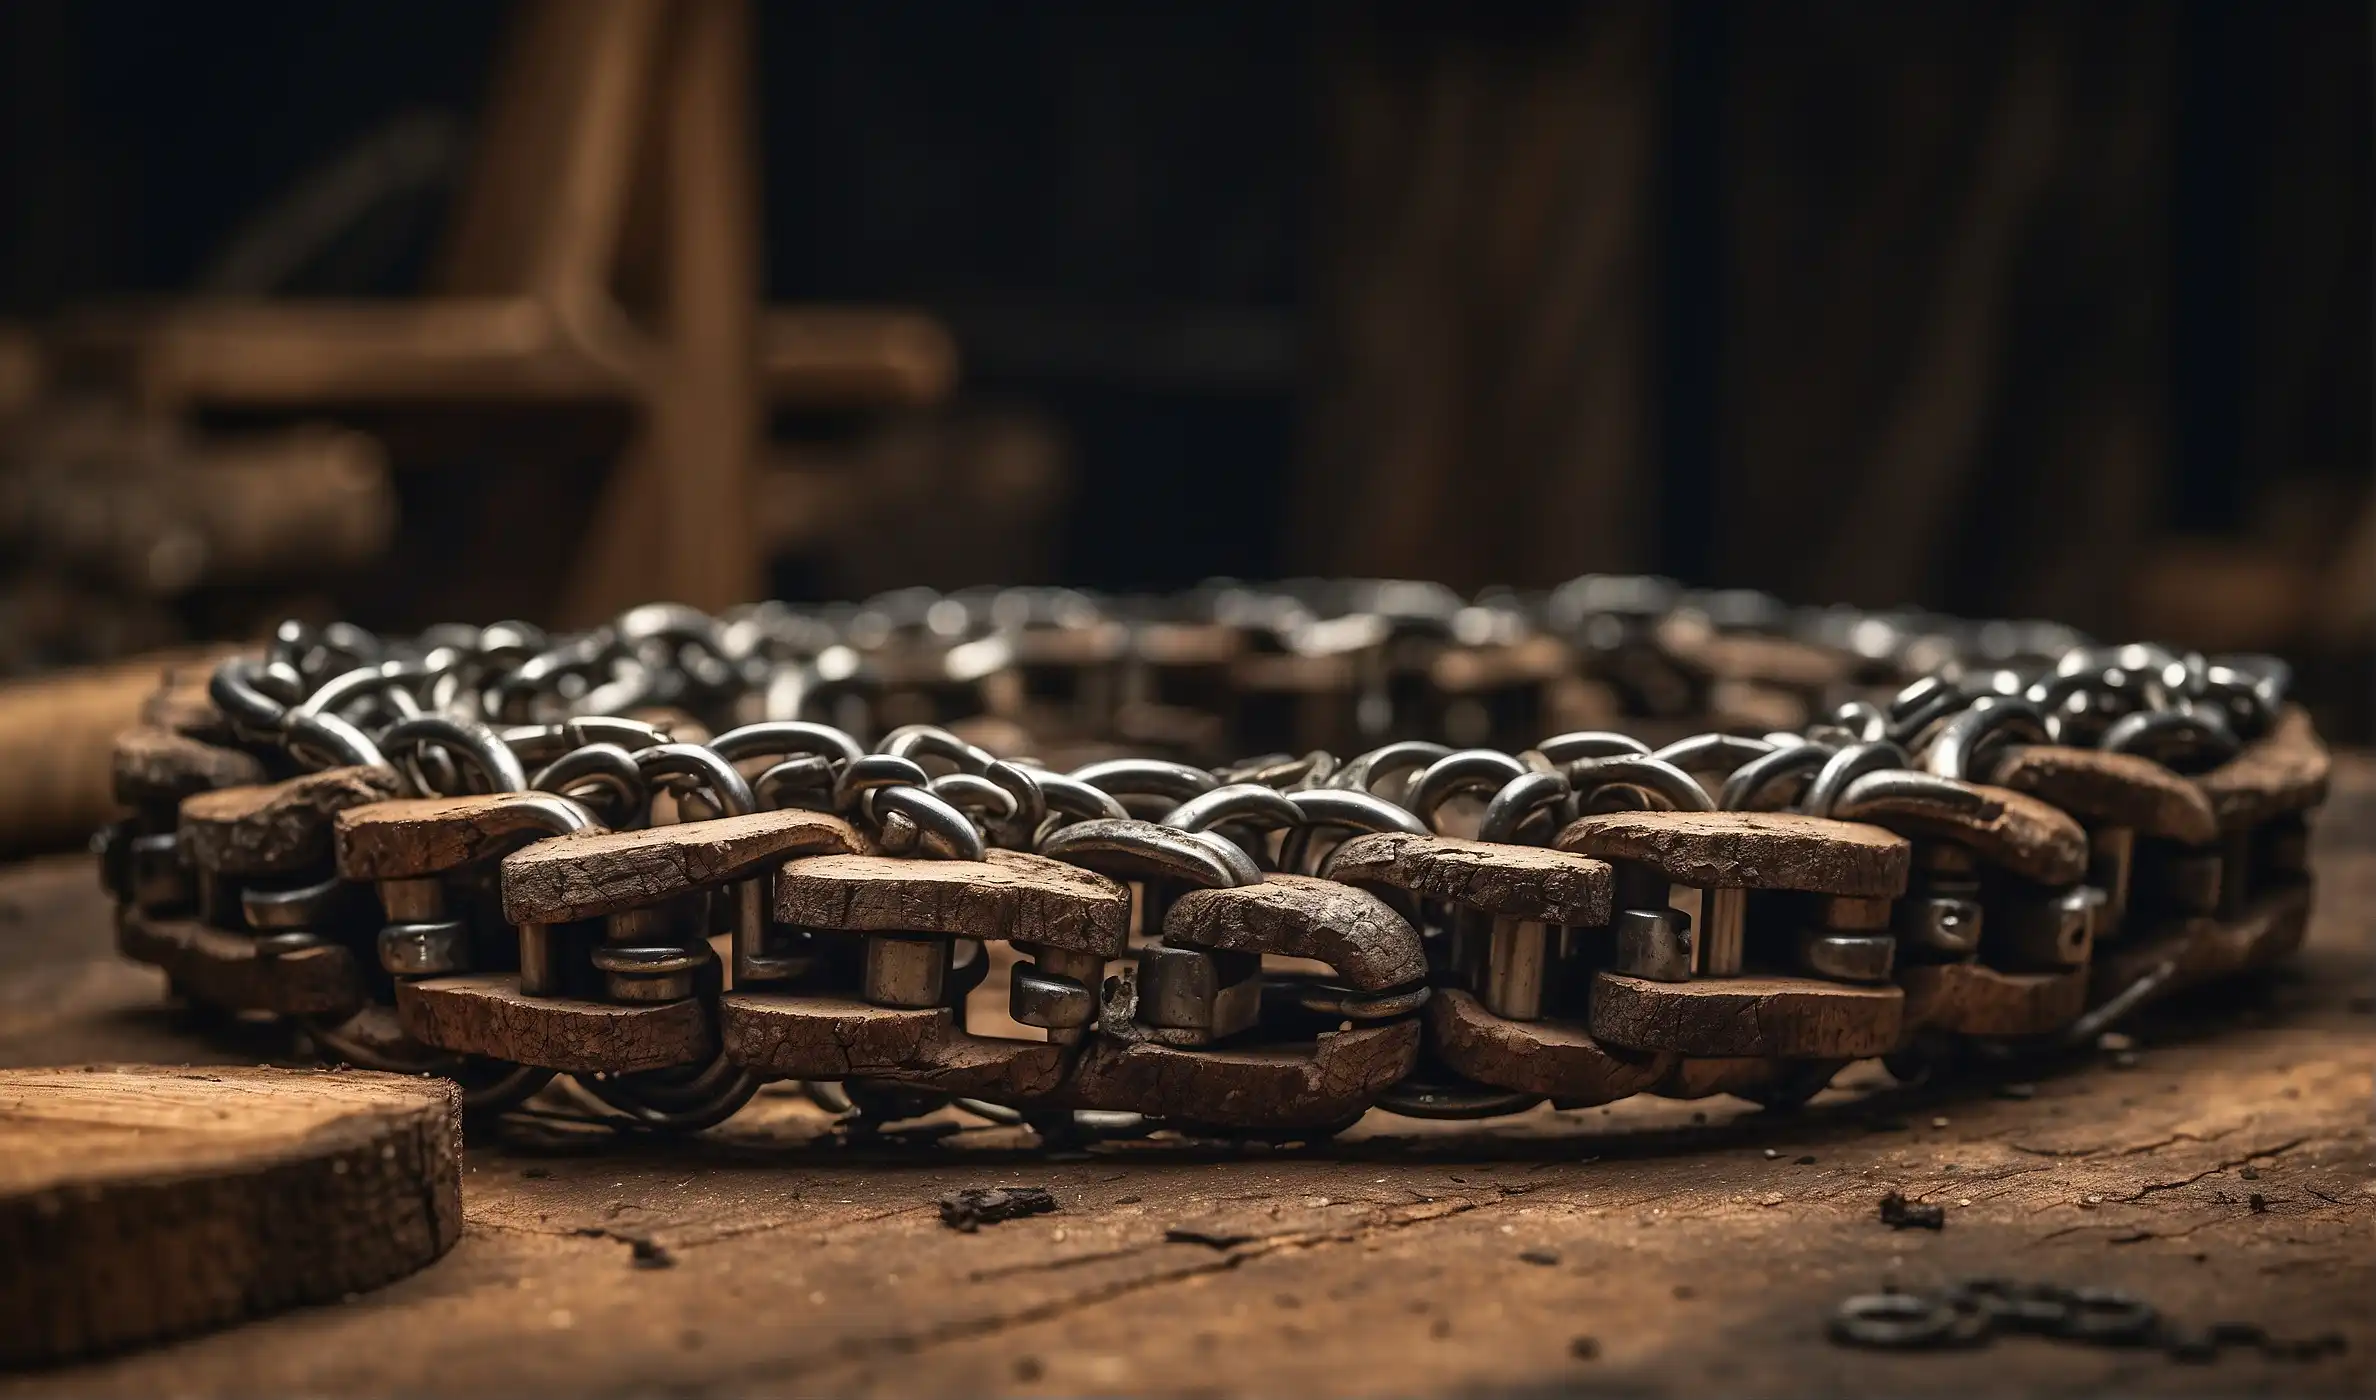
Think of your chainsaw chain as the heart of your chainsaw—complex, essential, and needing regular care. Each chain is a series of links: cutters, which do the actual cutting, and drive links, that keep the chain on the bar. Like links in a necklace, they need to fit just right. If a chain is too long, it can slip off, risking safety and efficiency. But here’s the thing: adjusting it isn’t just about yanking out a link or two. It’s a precise process, balancing safety and functionality.
Types of Chainsaw Chains and Their Differences
Not all chains are created equal. There’s the full-chisel, the semi-chisel, and the low-profile – each with its own pros and cons. The full-chisel cuts fast but is more prone to kickback and dulling. The semi-chisel, a bit slower, is more forgiving and stays sharp longer. Low-profile chains are the most user-friendly, especially for us folks who aren’t wielding chainsaws daily. Knowing your chain type is crucial before making any adjustments. It’s like picking the right tool for the right job. Each type has its own way of saying, “Handle with care.”
Preparing to Shorten a Chainsaw Chain
Alright, folks at Farm Pioneer, let’s gear up for some serious chainsaw chain shortening. It’s not rocket science, but it sure requires precision and care. Before we get our hands dirty, let’s talk prep. Getting ready is half the battle won, and in this case, it means gearing up for safety and gathering the right tools.

Safety First: Essential Protective Gear
When dealing with chainsaws, safety is more than just a precaution; it’s a necessity. Here’s the lowdown on the safety gear you need:
- Safety Gloves: Thick gloves are a must. They protect your hands from sharp chain teeth and metal filings.
- Protective Eyewear: Ever had a metal filing in your eye? Not fun. Goggles or safety glasses are non-negotiable.
- Hearing Protection: Chainsaws are loud. Earplugs or earmuffs will help protect your hearing in the long run.
- Sturdy Work Boots: A pair of boots with good grip can prevent slips and protect your feet.
Remember, better safe than sorry. Don’t skip on these!
Tools Required for Shortening a Chainsaw Chain
Now, let’s talk tools. You don’t need a garage full of fancy equipment, but a few specific items will make your life easier:
- Chain Breaker: This tool is the bread and butter of shortening chains. It pushes out the rivets holding the chain links together.
- Bench Vise: A vise holds the chain in place while you work. Stability is key when you’re dealing with small, precise parts.
- Rivet Spinner: After removing links, this tool helps rejoin the chain. It’s like stitching the chain back together.
- Flat File: To smooth out any rough edges on the chain links.
- Measuring Tape: Precision is crucial. Measure twice, cut once, as they say.
Armed with the right gear and tools, you’re now ready to tackle the chain shortening task with confidence. Stay tuned for more detailed instructions on the actual process of shortening the chain. We’ll make sure your chainsaw is ready for anything the farm throws at it.
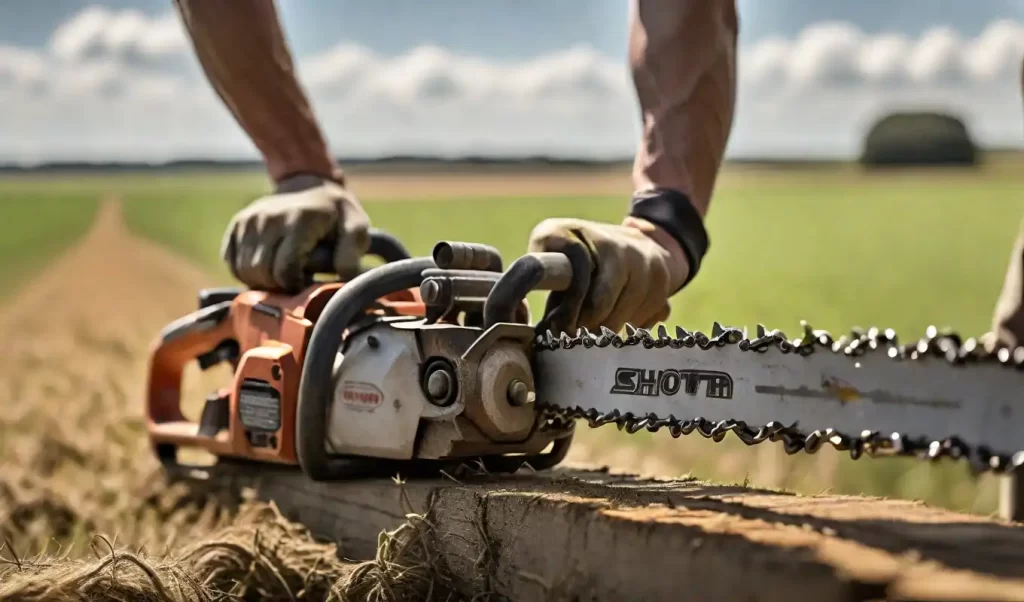
Step-by-Step Guide to Shorten a Chainsaw Chain
Shortening a chainsaw chain is like tuning a guitar. You don’t do it just because you can; you do it to make the instrument—or in this case, the tool—work its best. Let’s walk through this step-by-step, ensuring you get back to your cutting tasks with a chain that’s just the right length.
Assessing the Length: When to Shorten
First up, let’s figure out if your chain really needs shortening. A chain that’s too long often sags or doesn’t sit snugly against the bar. This can cause inefficient cutting and, more importantly, be a safety risk. If your chain has been slipping or you’ve removed damaged links, it’s time for a trim. A video overview about Shorten a Chainsaw chain:
Removing the Chain from the Chainsaw
Safety first—make sure your chainsaw is off and cool to the touch. Loosen and remove the guide bar’s side panel. You’ll then need to release the chain tension by turning the tensioning screw. Slide the chain off the bar gently. It’s a bit like taking the reins off a horse – do it carefully and respectfully.
Identifying and Marking the Removal Point
Now, with the chain in hand, decide where to cut. Look for a damaged link if you’re shortening due to damage, or choose a spot that keeps the chain’s integrity intact. Mark your spot with a permanent marker. This is your roadmap; don’t lose track of where you’re going.
The Process of Cutting and Re-linking
Here’s where the magic happens. Secure the chain in your vise. Use the chain breaker to push out the rivets at your marked spot. Remember, it’s like performing surgery; precision is key. After removing the unwanted links, it’s time to reconnect. This involves aligning the remaining ends and using the rivet tool to secure them back together. It’s a delicate dance between force and finesse. Again I repeat with following steps on the process:
- Cutting: Secure the chain in your bench vise. Use the chain breaker to push out the rivet at your marked spot. Carefully remove the unwanted links.
- Re-linking: Line up the ends to be joined. The rivet spinner comes into play here. Use it to join the links back together, ensuring they are securely fastened.
Testing the Chain Tension and Fit
Almost done! Reattach the chain to your saw, ensuring it fits snugly but not too tight. Adjust the tensioning screw to get that perfect tension where the chain moves freely but doesn’t sag. Give it a test run (safely, of course) to ensure everything feels right. A well-fitted chain should cut like a hot knife through butter.
And there you have it, a chainsaw chain that’s been expertly shortened, ready to take on the tasks at hand.
Troubleshooting Common Issues
So, you’ve shortened your chainsaw chain, but what if something doesn’t feel quite right? Don’t fret! It’s common to encounter a few hiccups along the way. Let’s troubleshoot some common issues you might face after shortening your chainsaw chain.
Addressing Uneven Chain Links
Uneven links can be a real headache. They can cause your saw to cut unevenly or even damage your guide bar. If you notice uneven links:
- Examine the Chain: Lay the chain out and compare the links. Look for differences in length or damage.
- File Carefully: Use your flat file to gently file down any links that are longer than others. Remember, this is a precision job.
- Check Your Work: Reassemble the chain and test it out. It should run smoothly without any snagging or unusual noises.
Patience is key here. A little extra time spent on getting those links even can save you a lot of trouble down the line.
Dealing with Chain Tension Problems
A chain that’s too tight or too loose is asking for trouble. Here’s how to get the tension just right:
- Loosen the Guide Bar: Before adjusting the chain, loosen the nuts holding the guide bar.
- Adjust the Tension: Turn the tensioning screw to adjust the chain. It should be snug, but you should still be able to pull it around the guide bar.
- Retighten and Test: Once the tension feels right, tighten the guide bar nuts back up. Give the saw a test run to ensure the chain moves freely and doesn’t sag.
Remember, a properly tensioned chain is crucial for safe and effective chainsaw operation. Take your time to get it right.
With these troubleshooting tips in your toolbox, you’re well on your way to maintaining a chainsaw chain that’s in top form. Keep an eye out for these common issues, and you’ll keep your chainsaw running smoothly for years to come.
Maintenance Tips for Chainsaw Chains
Now that you’re a pro at shortening chainsaw chains, let’s ensure your chainsaw stays in prime condition. Regular maintenance is key to prolonging the life of your chainsaw and ensuring it operates safely and efficiently.
Regular Cleaning and Lubrication
Dirt and debris are the archenemies of a smooth-running chainsaw chain. Here’s how to keep it clean and well-lubricated:
- Cleaning: After each use, clean the chain to remove dirt, sawdust, and debris. A stiff brush and a rag can do wonders.
- Lubrication: Always ensure your chainsaw is well-lubricated. This reduces friction and wear on the chain and the guide bar. Use a quality chainsaw oil for best results.
This routine not only keeps your chainsaw in good shape but also enhances safety and efficiency.
Storage and Care for Longevity
When not in use, store your chainsaw properly to protect it from the elements and extend its lifespan:
- Dry Storage: Store your chainsaw in a dry, clean place. Moisture is a recipe for rust and corrosion.
- Protective Cover: Use a chainsaw cover or case. This keeps the chain sharp and prevents accidental injuries.
- Regular Check-ups: Periodically check the chain for wear and tear, even when not in use regularly.
A little care goes a long way in keeping your chainsaw ready for action whenever you need it.
FAQs on Shorten a Chainsaw Chain
When should I shorten my chainsaw chain?
Shorten your chainsaw chain when it becomes loose and can’t be adjusted, shows uneven wear, or has damaged links.
Can I shorten a chainsaw chain at home?
Yes, you can shorten a chainsaw chain at home using basic tools like a chain breaker and rivet spinner, following proper safety precautions.
What are the risks of using an improperly sized chain?
Using an improperly sized chain poses risks like inefficient cutting, increased wear on the chainsaw, and potential safety hazards.
How often should chainsaw chains be replaced or shortened?
Chainsaw chains should be replaced or shortened when they show signs of excessive wear, damage, or can no longer be properly tensioned.
Can all types of chainsaw chains be shortened?
Most types of chainsaw chains can be shortened, but it’s important to check the manufacturer’s guidelines as some specialized chains may not be suitable for shortening.
Conclusion
In the symphony of chainsaw maintenance, shortening the chain is a crucial note. It ensures safety, efficiency, and prolongs the life of your trusty tool. Let’s recap the key points of this journey:
- Assessing the Need: Determine if and why the chain needs shortening.
- Safe Removal: Carefully remove the chain from the saw, always prioritizing safety.
- Mark and Cut: Identify the removal point and precisely remove the unwanted links.
- Re-linking: Reconnect the chain ends with accuracy, ensuring integrity and strength.
- Fit and Tension Test: Reattach the chain and adjust for optimal tension and fit.
Remember, like any skill, it takes practice to perfect. Don’t be disheartened if your first attempt isn’t flawless.
Keep your chainsaw in top shape, and it’ll be a trusty partner in your farming endeavors for years to come. Happy sawing!