
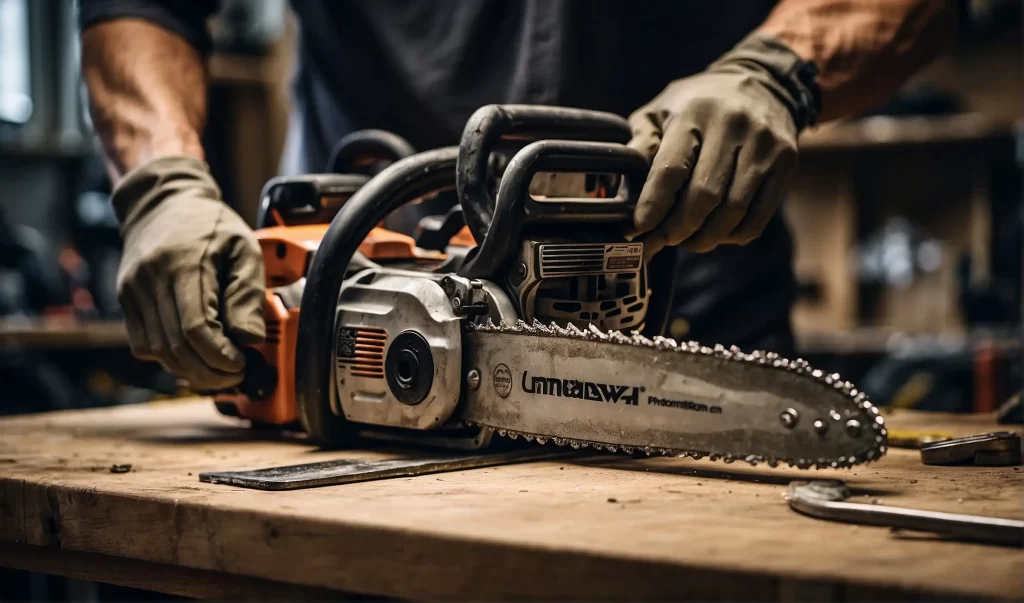
The chainsaw blade should be installed so that the cutting teeth face forward on the top of the bar, moving away from the chainsaw body.
Ever wondered why your chainsaw isn’t cutting as smoothly as it should, or why it feels like it’s working against you? Well, the secret might just lie in the direction of the blade. Yes, you heard that right – the way your chainsaw blade is installed can make a world of difference. In this friendly chat, we’re diving into the nitty-gritty of chainsaw blades, focusing on getting them set up right for safe and effective use. So, let’s roll up our sleeves and get into the mechanics of it!
Basics of a Chainsaw
Think of a chainsaw as your trusty sidekick in the world of woodworking, landscaping, or even in some adventurous DIY projects. It’s not just a tool; it’s a powerhouse that can make or break your workday. Let’s get a bit more acquainted with this handy machine.
Components of a Chainsaw
A chainsaw might look intimidating at first glance, but it’s essentially made up of a few key parts. The heart of the matter is the blade, or as the pros call it, the chain. This is where the magic happens – it’s a series of sharp teeth attached to a rotating metal ribbon. Then there’s the guide bar, an elongated bar that the chain wraps around. Think of the guide bar as the track on which your chain runs – it’s crucial for direction and stability.
Types of Chainsaw Blades
Chainsaw blades are like shoes – one size does not fit all. You’ve got the standard, all-purpose blades, great for general cutting. Then there are the ripping blades, designed for cutting parallel to the wood grain – think slicing butter, but it’s wood. And let’s not forget the special carbide-tipped blades, tough enough to cut through nails and concrete. Yes, concrete.
But here’s the clincher: no matter the type, they all need to go on the right way. A backward blade is like putting your shoes on the wrong feet – uncomfortable and, frankly, a disaster in the making.
Determining the Correct Direction of the Chainsaw Blade
Getting the direction of your chainsaw blade right is like making sure your car’s tires are rolling forward – it’s essential for a smooth ride, or in this case, a smooth cut. Let’s dive into how you can be a detective in spotting the correct direction of that crucial chainsaw blade.
Visual Indicators on the Blade
Imagine you’re a detective, and your chainsaw blade is the clue. Most chainsaw blades come with little breadcrumbs to guide you – these are visual indicators. Typically, you’ll find an arrow on the chain’s guide bar or sometimes on the chain itself. This arrow is like a signpost, pointing towards the direction the chain should travel.
But wait, there’s more! Each tooth on the chain is like a tiny shark fin, angled and ready to bite into the wood. When you’re positioning the chain, these teeth should be facing forward at the top of the guide bar. It’s like they’re eager to dive into the wood as the chain moves. If they’re facing backward, it’s like trying to comb your hair with the back of a comb – not very effective!
Understanding the Cutting Mechanism
Here’s where a bit of chainsaw science comes in. The cutting mechanism of a chainsaw is all about the direction and angle of the teeth. When the chain spins, these teeth slice into the wood, chipping away at it bit by bit. The angle of the teeth is designed to work with the motion of the chain.
When the chain moves in the correct direction, each tooth acts like a miniature scoop, carving out wood shavings as it goes. This motion is fluid and efficient, making your cutting experience feel almost effortless. But if the chain is backward, the teeth hit the wood the wrong way, causing more resistance, less effective cutting, and a whole lot of frustration.
It’s like paddling a boat – paddle in the right direction, and you glide through the water; paddle backward, and you’re in for a bumpy ride. Ensuring your chainsaw blade is heading the right way not only makes your work easier but also keeps things safer.
Step-by-Step Guide to Installing the Chainsaw Blade
Alright, it’s time to roll up our sleeves and get to the heart of the matter: installing that chainsaw blade. This process isn’t just about slapping on a chain; it’s about precision and safety. So, let’s break it down into simple, easy-to-follow steps.
Preparing for Installation
Before we jump into the action, safety first! Chainsaws are no joke, so let’s make sure we handle them with care.
- Safety Gear: Don your safety gloves and glasses. You don’t want any accidental nicks or debris flying into your eyes.
- Workspace: Find a stable, flat surface to work on. You need a solid base to ensure everything goes smoothly.
- Tools: Grab your chainsaw’s adjusting tools – usually a wrench or a screwdriver. These are often included with your chainsaw.
Think of this stage as preparing for a culinary masterpiece. You wouldn’t start cooking without your ingredients and utensils ready, right?
Installing the Blade
Now, onto the main event: installing the blade. Follow these steps to ensure a smooth installation:
- Power Off: Ensure your chainsaw is switched off. If it’s a gas chainsaw, make sure it’s cool.
- Remove the Guide Bar Cover: Unscrew the nuts or clips that hold the guide bar cover in place. Gently remove the cover.
- Loosen the Tension: If your chainsaw has a tensioning screw, loosen it slightly. This gives you some wiggle room to work with the chain.
- Place the Chain: Hold the chain with the drive links (the part that fits into the guide bar) facing down. Remember those arrows we talked about? Make sure they point towards the front end of the chainsaw.
- Attach to Guide Bar: Fit the chain around the guide bar. Begin at the nose and work your way back, ensuring it fits into the guide bar’s groove.
- Align with Drive Sprocket: Ensure the chain’s drive links engage with the chainsaw’s drive sprocket. This is crucial for smooth operation.
- Tighten the Tension: Once the chain is in place, tighten the tensioning screw until the chain fits snugly against the guide bar. It should be tight but still able to rotate freely.
- Replace the Cover: Put the guide bar cover back and tighten the nuts or clips.
You’ve just installed your chainsaw blade. Give yourself a pat on the back – you’re now ready to tackle those cutting tasks with a perfectly installed chainsaw blade. Remember, a well-installed blade not only ensures efficiency but also keeps you safe.
Learn more: Which Way Does a Chain Go on a Chainsaw
Common Mistakes and Troubleshooting
Even the most experienced chainsaw users can sometimes slip up during blade installation. It’s nothing to be embarrassed about! Recognizing and rectifying these mistakes is key to ensuring your chainsaw operates safely and effectively. Let’s explore some common hiccups and how to fix them.
Signs of Incorrect Blade Installation
Ever felt like your chainsaw is just not ‘cutting it’? Here are some tell-tale signs that your blade might be installed incorrectly:
- Poor Cutting Performance: If the chainsaw struggles to cut or requires excessive pressure, the blade might be backward.
- Unusual Noise or Vibration: A correctly installed blade should run smoothly. Any strange noises or vibrations are red flags.
- Excessive Chain Wear: Incorrect installation can cause the chain to wear out quickly, leading to frequent replacements.
- Risks Involved: An improperly installed blade isn’t just inefficient – it’s dangerous. It can lead to accidents, kickbacks, or damage to the chainsaw itself.
Imagine trying to butter your toast with the blunt side of the knife – frustrating and ineffective, right? That’s what using a chainsaw with a backward blade feels like.
Correcting Installation Errors
Don’t worry – most installation errors are easy to fix. Here’s how you can correct them:
- Recheck the Direction: If your chainsaw is underperforming, turn it off and check the blade direction against the guide arrows.
- Adjust Tension: Too tight or too loose can both be problematic. Adjust the tension screw until the chain fits snugly but still rotates freely.
- Proper Alignment: Ensure the chain is properly seated in the guide bar’s groove and aligned with the drive sprocket.
- Regular Maintenance: Keep an eye on chain sharpness and tension. Regular maintenance can prevent many common issues.
Remember, it’s always better to take a moment to double-check your work than to push forward with a setup that doesn’t feel right. Your chainsaw is a powerful tool, and a little caution goes a long way in ensuring a safe and productive cutting experience.
Learn more: What Size Chainsaw Do I Need
Maintaining Your Chainsaw for Optimal Performance
Keeping your chainsaw in tip-top shape is not just about ensuring it works well; it’s about your safety, too. Regular maintenance is the secret sauce to prolonging the life of your chainsaw and making every cut as smooth as the first. Let’s dive into some maintenance must-dos and when to wave goodbye to an old blade.
Regular Maintenance Tips
A little care goes a long way. Here are some routine checks and practices to keep your chainsaw humming:
- Clean After Use: Sawdust, resin, and debris can clog your chainsaw. Clean it thoroughly after each use.
- Sharpen the Chain: A dull chain makes for hard work and uneven cuts. Regular sharpening keeps it in prime condition.
- Check Chain Tension: Before each use, ensure the chain is correctly tensioned – not too tight, not too loose.
- Inspect the Guide Bar: Look for signs of wear or damage. A worn guide bar can affect the chain’s performance.
- Lubricate: Chainsaws need lubrication for smooth operation. Regularly check and refill the oil reservoir.
- Air Filter Maintenance: A clean air filter ensures efficient engine performance. Clean or replace it as necessary.
Think of these practices like regular check-ups at the doctor – they keep your chainsaw healthy and ready for action.
When to Replace the Chainsaw Blade
Just like your favorite pair of running shoes, chainsaw blades wear out and need replacing. Here’s how to tell it’s time:
- Visible Damage: Look for broken or missing teeth. If you see any, it’s time for a new chain.
- Difficulty Cutting: When cutting becomes a chore even after sharpening, your blade might be beyond its prime.
- Excessive Stretching: If you’ve had to adjust the tension more frequently than usual, the chain may have stretched too far.
- Uneven Wear: If parts of the chain look more worn than others, it’s likely affecting your cutting accuracy.
To know more: Husqvarna 572XP Problems and Solutions
FAQs: Which Way Does a Chainsaw Blade Go
How do I know if my chainsaw blade is installed correctly?
Your chainsaw blade is correctly installed if it moves smoothly, cuts efficiently, and the blade’s directional arrows align with the chain’s movement towards the front of the saw.
Can I install the chainsaw blade myself, or should I seek professional help?
You can install the chainsaw blade yourself by following the manufacturer’s guide, ensuring proper alignment and tension, and adhering to safety measures.
What are the risks of an incorrectly installed chainsaw blade?
An incorrectly installed chainsaw blade can lead to poor cutting performance, increased wear and tear on the chainsaw, potential injury due to improper operation, and reduced efficiency of the tool.
Conclusion
So there you have it – the ins and outs of proper chainsaw blade installation and maintenance. Remember, a well-installed blade not only makes your job easier but also keeps you safe. And don’t forget about regular maintenance; it’s the key to ensuring your chainsaw remains a reliable partner in your toolbox.
Stay connected with Farm Pioneer, stay sharp, stay safe, and let your chainsaw continue to be the powerhouse tool that makes your work a breeze. Happy cutting, and always remember – a well-maintained chainsaw is a happy chainsaw!